
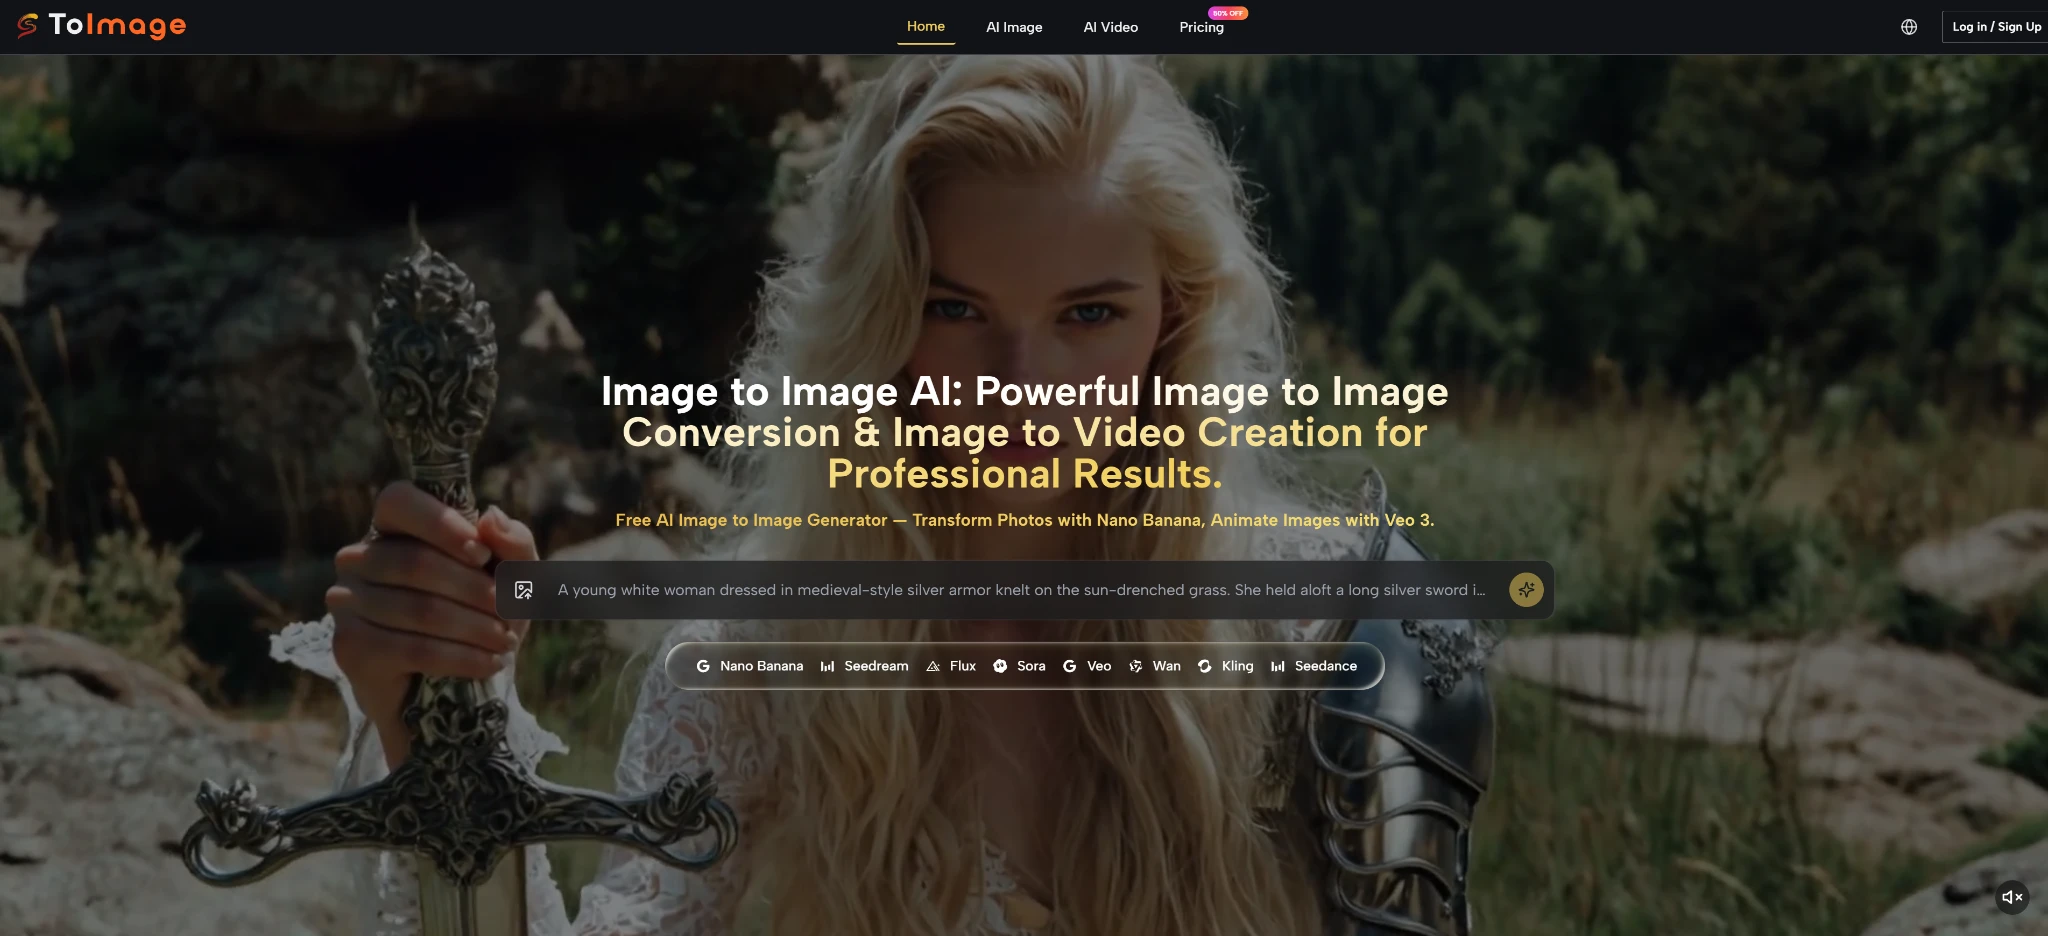
Have you ever had a brilliant picture in your mind, but when you try to draw it or create it on a computer, it just does not look right? It is incredibly frustrating to have great ideas but lack the complex software skills needed to make them a reality. You might spend hours staring at a blank screen, trying to figure out where to even begin. This gap between your imagination and the final artwork is exactly where Image to Image steps in to help. Instead of forcing you to start from nothing, this helpful tool lets you use a simple sketch, a rough shape, or a basic photo as a comfortable starting point. It then uses advanced but easy-to-understand technology to build upon your foundation, smoothly turning a rough concept into a polished piece of art. It makes the whole creative journey feel much more like a fun collaboration rather than a stressful, uphill chore. You do not need to be a professional designer to get beautiful results anymore; you just need a starting idea and a bit of everyday imagination. By taking the heavy lifting out of the drawing process, it allows anyone to participate in visual storytelling, whether for a personal project or a team presentation.
How The Core Visual Transformation Process Actually Works Today
When you first start using these modern creative tools, it can feel a bit like magic, but the process behind the scenes is actually quite logical. The system does not just slap a quick filter over your photo like an old smartphone app. Instead, it takes a really careful look at the picture you uploaded to understand what you are trying to achieve.
Understanding The Important Role Of Your Base Reference Picture
Think of your uploaded picture as the skeleton or the blueprint for your final artwork. The system studies the basic shapes, where the light is coming from, and how things are arranged on the screen. If you upload a drawing of a circle on a desk, the system understands that there is a round object resting on a flat surface. This base picture acts as an anchor. It stops the system from just guessing wildly and instead forces it to follow the general layout you have provided. This is incredibly helpful because it means you remain in control of the overall composition, even if you cannot draw the fine details yourself. Whether you are blocking out a rough landscape for a video game background or just drawing stick figures to show where people should be standing in a marketing poster, that initial upload is your way of holding the steering wheel. It gives you a comforting level of control in a process that otherwise relies heavily on automated generation.
Why Your Written Text Instructions Matter Just As Much
While your picture provides the skeleton, your written words provide the skin, the clothes, and the atmosphere. The text prompt is where you tell the tool exactly what you want that basic shape to become. You might type that you want a shiny red apple, or perhaps a futuristic glowing orb. The system blends your written instructions with the shapes in your uploaded picture. If you leave the text too vague, the results might be a bit confusing. But if you describe the colors, the mood, and the style you want in plain English, the system uses those words as a direct map to finish the painting for you. Think of yourself as a movie director. The uploaded picture is your stage, and your text prompt is how you instruct the actors and the lighting crew. You have to be communicative. If you just say “make it better,” the crew will not know what to do. But if you describe the scene clearly, the resulting image will be much closer to the comfortable picture you have in your head.
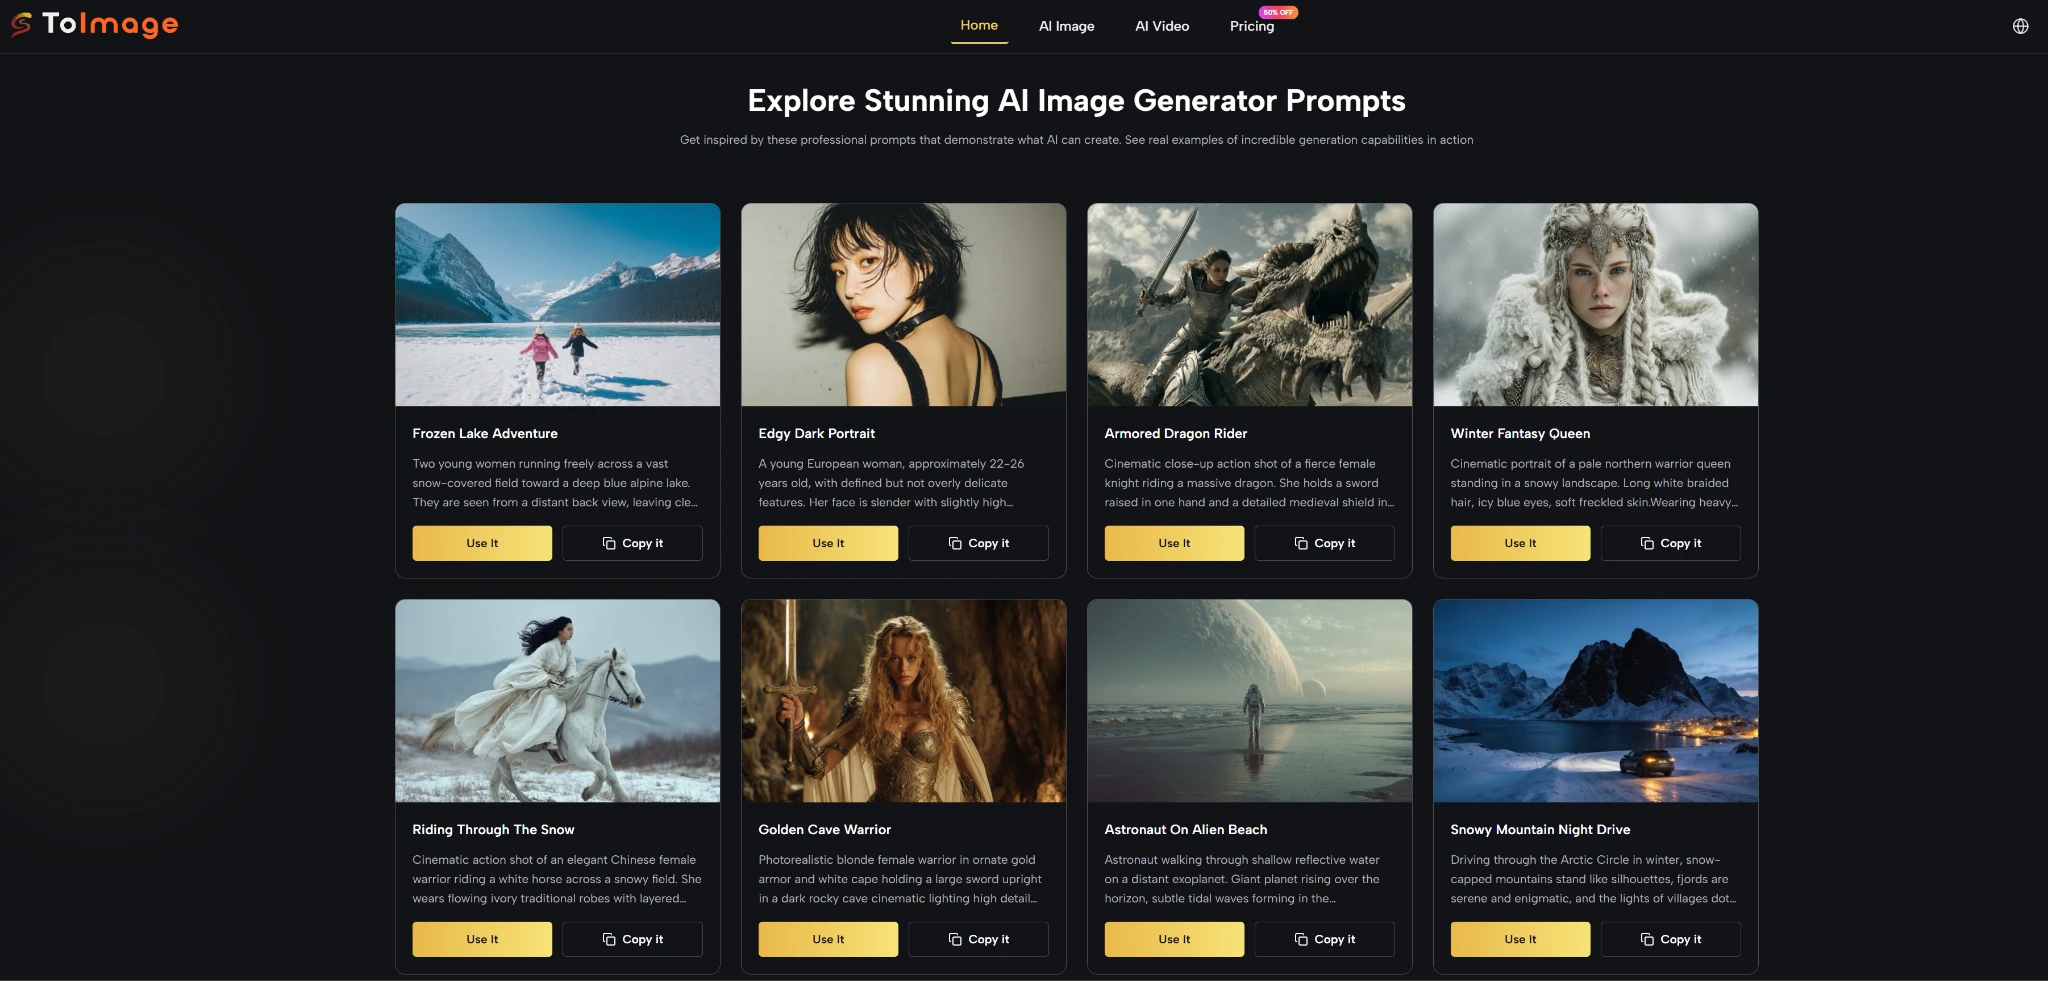
Simple Steps To Create Great Visuals On The Platform
Getting started is designed to be straightforward, even if you have never used a creative tool before. Based on the standard way this platform is set up, there is a simple flow you can follow to get the best possible outcome without feeling overwhelmed.
Step One Uploading A Clear And Simple Starting Picture
Your first task is to give the system something good to work with. Find a basic photo, a rough sketch, or even a simple 3D shape that matches the layout you want in your final image. When you upload this file, try to make sure it is not too dark or incredibly blurry. A clear, simple starting picture helps the system understand your intentions much faster. If your starting picture is too messy, the tool might get confused about what it is supposed to be looking at.
Step Two Writing A Descriptive And Easy To Read Prompt
After your picture is uploaded, you need to write your instructions. Keep your words simple but descriptive. Instead of just writing “a dog,” try writing “a happy golden retriever sitting in a sunny green park.” Mention the art style you like, such as a watercolor painting, a pencil sketch, or a realistic photograph. The clearer you can describe the feeling and the details in your mind, the easier it will be for the system to generate exactly what you are hoping to see.
Step Three Adjusting The Generation Settings And Trying Again
Once you hit the button to create your image, you will get a few different options to look at. Sometimes, the first try is not perfect, and that is completely normal. You might need to change a simple setting that tells the tool how closely it should copy your original picture. If the new image looks too much like your rough sketch, you can lower that setting to give the tool more creative freedom. Creating good visuals is often a playful process of trying, adjusting your words slightly, and generating a few more times until you get the perfect shot.
Comparing Traditional Editing Tools With This New Generative Approach
If you are used to using complex photo editing software, switching to this new way of working can feel very different. To help make sense of the change, here is a simple breakdown of how the old way compares to using these modern, helpful tools in your daily work.
| Work Feature | Traditional Editing Software Experience | Modern Generative Tool Experience |
| Time Needed | Often takes many hours of focused, detailed work | Usually provides several options in just a few minutes |
| Required Skills | Needs deep knowledge of complex menus and brushes | Needs good imagination and clear communication skills |
| Making Changes | Changing the whole layout is very hard and slow | Changing the layout just takes typing a few new words |
| Learning Curve | Can take months or years to feel truly comfortable | Very easy to start playing and learning on the first day |
| Surprise Factor | You know exactly what every pixel will look like | The tool might surprise you with a creative new idea |
Real World Testing Observations And Looking At Current Limitations
It is always helpful to know what to expect when you sit down to use a new tool. In my testing, I have spent a lot of time seeing what works smoothly and where you might need to have a little bit of patience. The technology is incredibly impressive, but it is still learning and growing every single day.
What Works Really Well In My Daily Testing Experience
One of the most delightful things I have noticed is how well the system understands textures and materials. If you ask for a fuzzy sweater or a shiny metal car, the tool does a wonderful job of making those materials look believable. It takes a lot of the heavy lifting out of making an image feel rich and detailed. You do not have to know how to draw individual threads or metallic reflections; the system handles those complex artistic choices for you beautifully. This is a huge confidence booster for people who have great ideas but have never taken a formal art class. Being able to see a rough doodle transform into a high-quality, textured painting in just a few moments is genuinely exciting.
Handling Complex Lighting And Realistic Shadows In Generated Scenes
Lighting is usually one of the hardest things for a human artist to master, but in my testing, these tools handle it incredibly well. If you ask for a picture set during a golden sunset, the system naturally casts long, warm shadows exactly where they should be. It understands how light wraps around objects, which makes the final pictures feel very grounded and real, rather than flat or cartoonish.
Where The Generative System Still Needs A Little Human Help
Of course, it is not absolutely perfect yet. I have found that the system can sometimes struggle if you give it too many confusing instructions at once. If your text prompt is a massive paragraph full of completely different ideas, the tool might get overwhelmed and mash things together in a weird way. It is usually much better to keep your instructions focused on one strong, clear idea. Also, getting the exact same result twice is almost impossible, which is just part of how this kind of technology naturally works.
Keeping Characters Looking The Same Across Different Generated Pictures
One specific challenge I notice often is trying to create a storybook or a comic where the exact same person appears in many different pictures. The system might change their face slightly or alter their clothing between different generations. While there are some advanced tricks to help fix this, it generally requires a lot of patience and many tries. It is a known limitation across the whole industry right now, as discussed in various online communities focused on generative art, such as visual-generative-studies.org/consistency-tips. You just have to be prepared to do a little bit of sorting and selecting to find the pictures that match each other the best.