
Outlook users often encounter issues while working with the program. One such common issue that have been reported by several users on different forums is the Emails Not Syncing issue.
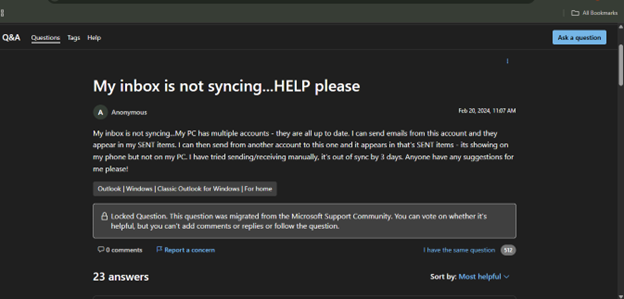
This issue indicates synchronization problem between Outlook and the mail server. Nevertheless, this issue might also arise due to various other factors.
In this article, we will try to understand the reasons behind the emails not syncing in Outlook issue and how to resolve this issue once and for all.
Why are Emails Not Syncing in Outlook?
Below we have mentioned the reasons behind the Outlook not Syncing issue:
- Corrupted Outlook data file (OST/PST)
- Damaged Outlook profile
- Network connectivity problems
- Incorrect account configuration
- Outdated Outlook version
- Conflicting security software
- Problematic third party add-ins
Easy and Quick Solutions to Fix Emails not Syncing in Outlook
You can follow the below solutions to resolve this issue effectively and quickly.
1. Check Internet Connection
Outlook needs a stable internet connection to synchronize mail items to and from the mail server. If you’re facing any connectivity issues, then your emails will not sync properly. Therefore, you can check and make sure that your internet connection is stable.
2. Check and Disable Work Offline Mode
If Work Offline mode is enabled in Outlook, it is disconnected from the server, thus stops syncing emails. You can check and disable this mode to resolve the issue. Here’s how:
- Open Microsoft Outlook.
- Go to Send/Receive tab in the top menu.
- Find the Work Offline

- Click on it to disable it.
- Once you disable it, Outlook will reconnect to the mail server.
- Click Send/Receive All Folders to update your inbox.
3. Update Outlook
Outlook’s outdated version may contain bugs or glitches that can cause sync issues. Microsoft regularly releases updates to fix bugs and other issues in Outlook application. You can check if your Outlook is updated. If not, install the latest updates. Here’s how:
- Open Microsoft Outlook.
- Go to File in the top menu.
- Choose Office Account.
- Click Update Options.
- Click on Update Now.
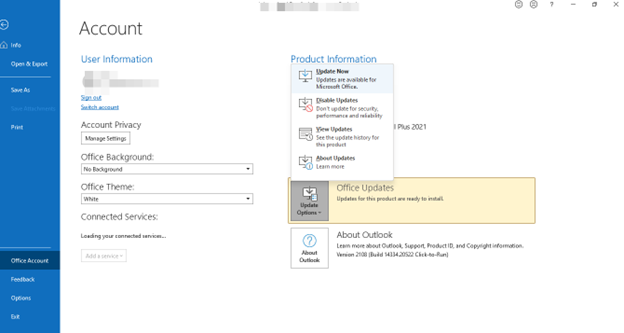
- Now, Outlook will check for available updates and install them automatically.
- Then, restart Outlook after the update is done.
4. Check Send/Receive Settings
Outlook comes with a scheduler that automatically syncs your email at regular intervals. If this scheduler is disabled — or if the sync group for your account has been accidentally turned off — your emails will stop updating until you manually trigger a sync. Here’s how to verify and fix these settings:
- Go to the Send/Receive
- Click Send/Receive Groups.
- Select Define Send/Receive Groups from the dropdown.
- In the dialog box, find the group named – All Accounts (or your account name).
- Make sure the checkbox for “Schedule an automatic send/receive every” is ticked.
- Set the interval to something reasonable — (For example, 5 or 10 minutes).
- Also ensure that the “Perform an automatic send/receive when exiting” option is checked.
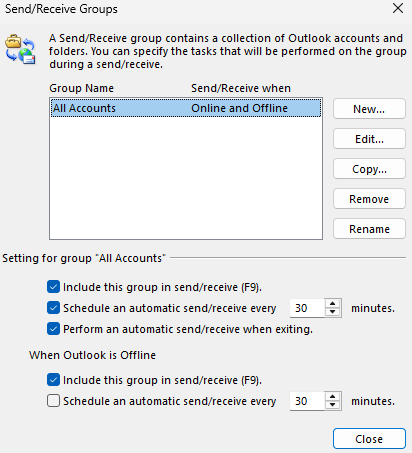
- Click Close.
- Then, wait for a few minutes and check if emails are syncing.
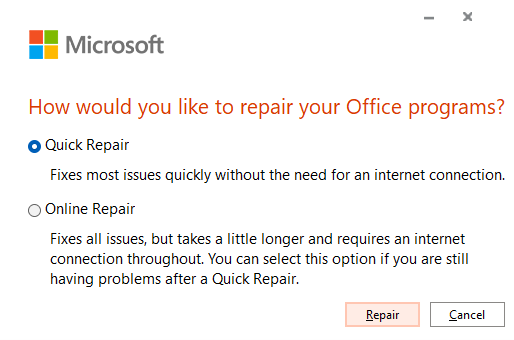
5. Repair Outlook Application
Corrupt or missing Outlook installation files can also result in email synchronization issue. Repairing Outlook can resolve the issue. Follow the steps below to repair the application:
- Open Control Panel on your system.
- Go to Programs > Programs and Features.
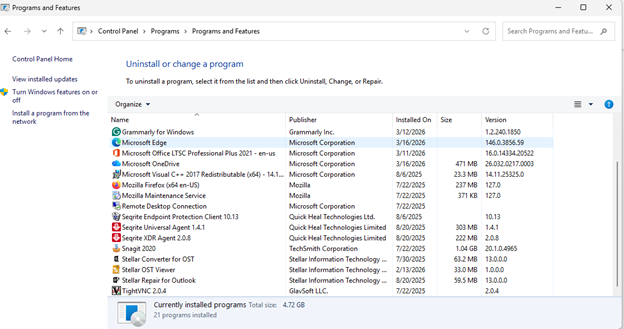
- Locate Microsoft Office and click Change.
- Select Quick Repair.
- Follow the on-screen instructions.
- Then restart your system.
6. Create a New Profile in Outlook
If your profile is damaged, then the Outlook email client will also face some issues, such as the “email not syncing” issue. Creating a new profile is also an effective way to resolve the issue quickly. You can create a new profile in Outlook with the following steps:
- Close Microsoft Outlook.
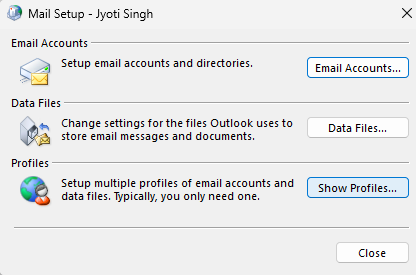
- Open Control Panel on your computer.
- Click Mail.
- Select Show Profiles.
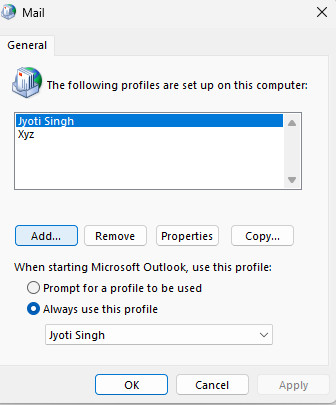
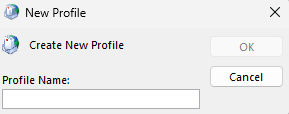
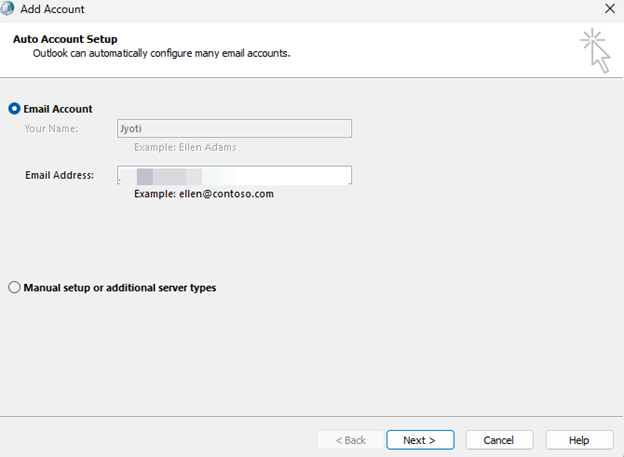
- Click Add to create a new profile.
- Enter a name for the new profile.
- Add your email account details and complete the setup.
- Select Always use this profile and choose the newly created profile.
- Click Apply > OK.
- Restart Outlook.
7. Recreate OST File
Inconsistencies or corruption in OST file can also cause synchronization problems in Outlook. In this case, you can simply resolve the issue by recreating your data file. Here’s how:
- Close Outlook.
- Press Windows + R, type the following path:
%localappdata%\Microsoft\Outlook
- Press
- Locate the OST file linked to your account.
- Rename the file. For example: mailbox.ost to mailbox_old.ost. This will create a backup.
- Open Outlook. It will create a new file and start syncing the mailbox data from server.
Once the new OST file is created, make sure that all your mailbox items are intact. If there any missing items, then you can recover them from the backup file. For this, you have to take the help of a reliable OST to PST converter tool, such as Stellar Converter for OST.
This is a professional tool that is specifically designed to convert orphaned/inaccessible OST file to PST. Once converted, you can open/import this PST file into Outlook by using its utility – Import/Export Wizard.
Conclusion
The problem of Outlook not syncing emails is a disruption of your work process. The problem can be fixed by following the solutions provided in this article. In case the problem is due to a damaged OST file, it is possible to recreate the OST file. This is done by closing the application, deleting the OST file, and running the application again. In case some items are not found in the new file, it is possible to recover them by using a powerful tool such as Stellar Converter for OST.