UK: +44 2038074555 info@atamgo.com
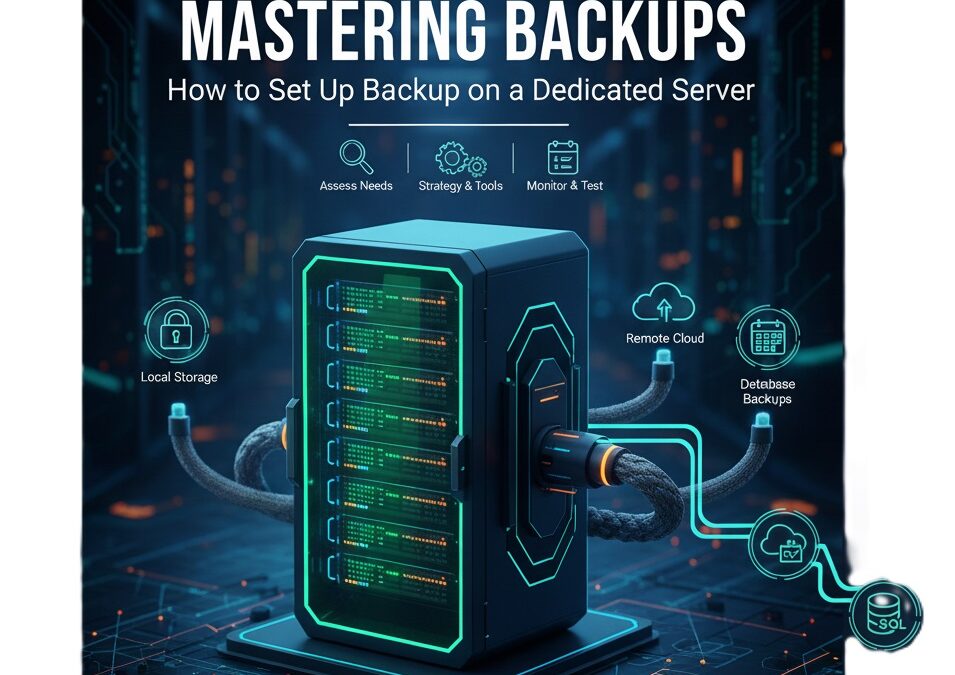
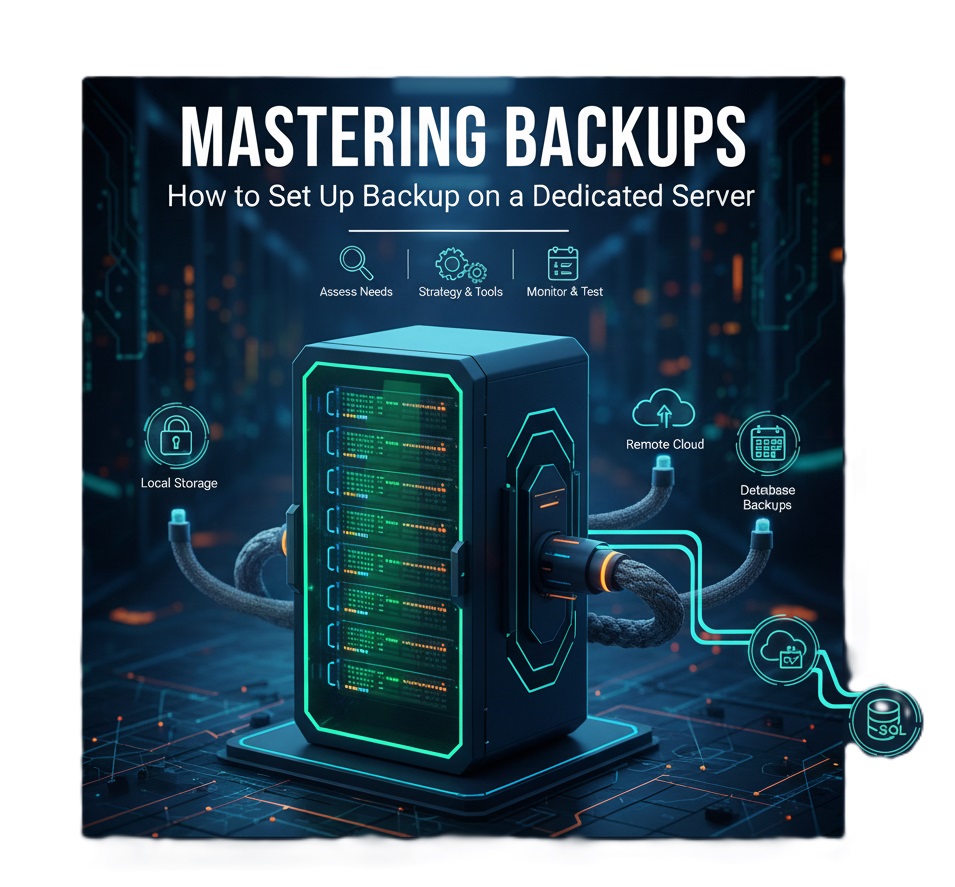
Mastering Backups: How to Set Up Backup on a Dedicated Server

Mastering Backups: How to Set Up Backup on a Dedicated Server

Mastering Backups

Setting up backups on a dedicated server might sound like one of those tedious “IT chores,” but in reality, it’s more like installing an insurance policy for your digital life. Imagine spending months building a website or storing critical business data, only to lose it all in a blink. Nightmare, right? That’s why understanding how to configure reliable backup systems is not just smart—it’s essential. In this article, we’ll explore how backup works on dedicated servers, practical steps, common pitfalls, and creative ways to protect your data.

Why Backups Matter: A Reality Check

Before diving into the mechanics, let’s pause for a moment. Many people think “my data is safe because it’s on a dedicated server.” Sorry to break it to you, but server crashes, hardware failures, accidental deletions, or even cyberattacks don’t care about your assumptions. Backups act as your safety net. Think of it as having a duplicate key to your house—you hope you never need it, but the day you do, you’re incredibly thankful.

On a dedicated server, the stakes are even higher. You control everything: software, configurations, databases, and sometimes sensitive customer data. Losing this isn’t just inconvenient—it can be catastrophic.

Choosing Your Backup Strategy

When it comes to backups, there isn’t a one-size-fits-all approach. The first step is deciding what to back up and how often.

  1. Full Backups – This is a snapshot of the entire server, including OS, databases, applications, and user files. It’s thorough but can consume significant storage and take time. Think of it like photographing every room in your house, furniture included.
  2. Incremental Backups – Only new or changed data is saved since the last backup. Efficient, fast, and storage-friendly. It’s like taking a picture only of the things that moved since yesterday.
  3. Differential Backups – Saves changes since the last full backup. A middle ground between full and incremental methods.

Frequency matters, too. Critical databases might need hourly backups, while static web content could survive daily backups. On a dedicated server, you have the control to schedule tasks via cron jobs or backup software, ensuring your data is always up-to-date. Using reliable data backup solutions further guarantees that your information is securely stored and quickly recoverable in case of any failure.

Tools and Methods: From Simple to Advanced

There are several ways to set up backups on a dedicated server, ranging from built-in tools to advanced commercial solutions.

  • rsync and cron – The classic Linux combo.rsynccopies files efficiently, andcronschedules automatic runs. It’s free, reliable, and highly customizable. For example, you can back up/var/www/to an external drive every night at 2 a.m.
  • Snapshots – Many servers support filesystem snapshots, such as LVM snapshots. Snapshots create a point-in-time copy almost instantly, useful for quick recovery.
  • Backup Software – Solutions like Bacula, R1Soft, or Acronis allow professional-grade backup setups with automation, encryption, and remote storage. Think of them as personal security teams for your data.

And yes, you can always mix methods: local backups for speed and cloud backups for disaster recovery.

Storage Options: Local, Remote, or Cloud

Where to store your backups is a strategic decision.

  • Local Storage – Keeping backups on the same server is fast but risky; if the server fails, both the original data and the backup may be lost.
  • Remote Storage – Storing backups on a separate physical server provides safety against hardware failures.
  • Cloud Storage – Services like AWS S3, Google Cloud Storage, or even DeltaHost’s backup solutions offer offsite protection with almost unlimited capacity. It’s like having a safety deposit box for your digital treasures.

A clever setup often combines all three: daily local backups for speed, weekly remote backups for security, and monthly cloud snapshots for disaster recovery.

Automation: Because Life’s Too Short

Manually running backups is a recipe for disaster—you’ll forget, procrastinate, or misconfigure something. Automation is your friend. Use cron jobs, backup scripts, or management panels to schedule backups. Ensure alerts and logs are in place so you’re notified if something goes wrong. Nothing worse than discovering your backups failed after a crash.

Testing Your Backups: The Step Most People Skip

Here’s an ironic twist: many administrators spend hours setting up backups but never test restoring data. Imagine creating a full backup of your server and then, during a critical outage, realizing it’s corrupted. Ouch. Regularly test restores to verify data integrity and recovery procedures. Think of it as fire drills—annoying, yes, but life-saving in an emergency.

Real-Life Example: From Chaos to Calm – Detailed Breakdown

Imagine a small e-commerce company, “ShopExpress,” running on a dedicated server. Their website handles hundreds of daily orders, stores customer data, and processes payments. One Monday morning, disaster strikes: the server’s primary hard drive fails suddenly. The website goes offline, orders stop coming in, and the IT team receives urgent calls from worried customers.

Step 1: Immediate Assessment

The IT administrator quickly logs into the server management console. The system reports disk errors, and attempts to access the website result in timeouts. The first panic reaction is natural—but there’s no time to waste.

  • They check which data is affected. The main web application, customer database, and transaction logs are at risk.
  • They also verify the status of backups: automated incremental backups on a remote server and weekly full snapshots stored in the cloud.

Step 2: Decision on Recovery Strategy

Because the failure is hardware-related, repairing the hard drive isn’t practical; replacing it will take time. Here, the backup plan kicks in. The IT team decides:Restore the latest incremental backups first, to recover the most recent changes in the database and website content.

  1. If anything is missing or corrupted, use the weekly cloud snapshots as a fallback.

This dual-layer strategy ensures minimal data loss and quick restoration.

Step 3: Executing Incremental Backup Restore

The IT team connects to the remote backup server. Incremental backups are structured by date and time. Using automated restore scripts:

  • They first restore the website files to a new clean drive.
  • Next, the database is restored using SQL dump files from the last incremental backup.
  • Transaction logs from the past few hours are applied to ensure that recent customer orders are not lost.

Within 30–40 minutes, the website is running on a temporary environment.

Step 4: Verifying Integrity

Before going live, the team performs several checks:

  • Test login and purchase functions.
  • Compare database records with the last known correct snapshot to ensure no orders are missing.
  • Check for broken links or corrupted files.

Everything matches expectations—no orders were lost, and the website functions correctly.

Step 5: Full Recovery and Permanent Fix

Finally, they replace the faulty hard drive on the dedicated server. Once the new drive is set up:

  • The restored data is migrated back from the temporary environment to the main server.
  • Regular backup routines are restarted to resume automated incremental and cloud backups.
  • IT team documents the incident and reviews the backup schedules for improvements.

Step 6: Lessons Learned

Thanks to having automated incremental backups on a remote server and weekly cloud snapshots:

  • Downtime was minimal: The website was restored within an hour.
  • No customer orders were lost: All transactions were recovered.
  • Business continuity was preserved: Operations resumed without financial or reputational damage.

The key takeaway is that properly configured backups, tested recovery processes, and layered strategies (remote + cloud) transform potential chaos into calm.

Conclusion: Your Data Deserves Protection

Configuring backup on a dedicated server isn’t just about ticking a box—it’s about responsibility. Understand your data, choose a backup strategy, automate tasks, and test restores. Combine local, remote, and cloud storage for the ultimate safety net.

Remember, every dedicated server is a fortress, but even fortresses need lifeboats. Protect your digital kingdom, experiment safely, and make backups a natural habit. Your future self—and your data—will thank you.

6 Genius Ways to Instantly Extract Music from Any Video

6 Genius Ways to Instantly Extract Music from Any Video

extract music from video

Introduction: Why You Might Want to Extract Music from Video

Extract music from video — we’ve all been there. You watch a video and instantly fall in love with the background music. Maybe it’s a catchy track from a YouTube vlog, a background score in a short film, or even a motivational speech with epic music behind it. The problem? The song isn’t available on Spotify or Apple Music, and you desperately want to add it to your playlist. That’s where the magic happens: you can extract music from video and save it for personal use.

Whether you’re learning how to extract music from YouTube video clips, pulling audio from your own projects, or grabbing a track for offline listening, extracting music from video is surprisingly easy once you know your options. Some methods are beginner-friendly and take less than a minute, while others give you advanced controls to tweak quality, formats, and even editing.

In this guide, I’ll walk you through six genius ways to instantly grab the music you want, whether you’re on desktop, mobile, or even working with advanced command-line tools. I’ll also sprinkle in tips for keeping the best quality and staying on the right side of copyright laws. By the end, you’ll know exactly which method works best for your situation.

Find More: 7 Powerful Reasons Why GetVid Is the Easiest Way to Download Any Video Online

6 Genius Ways to Instantly Extract Music from Any Video

1. Use Free Online Converters

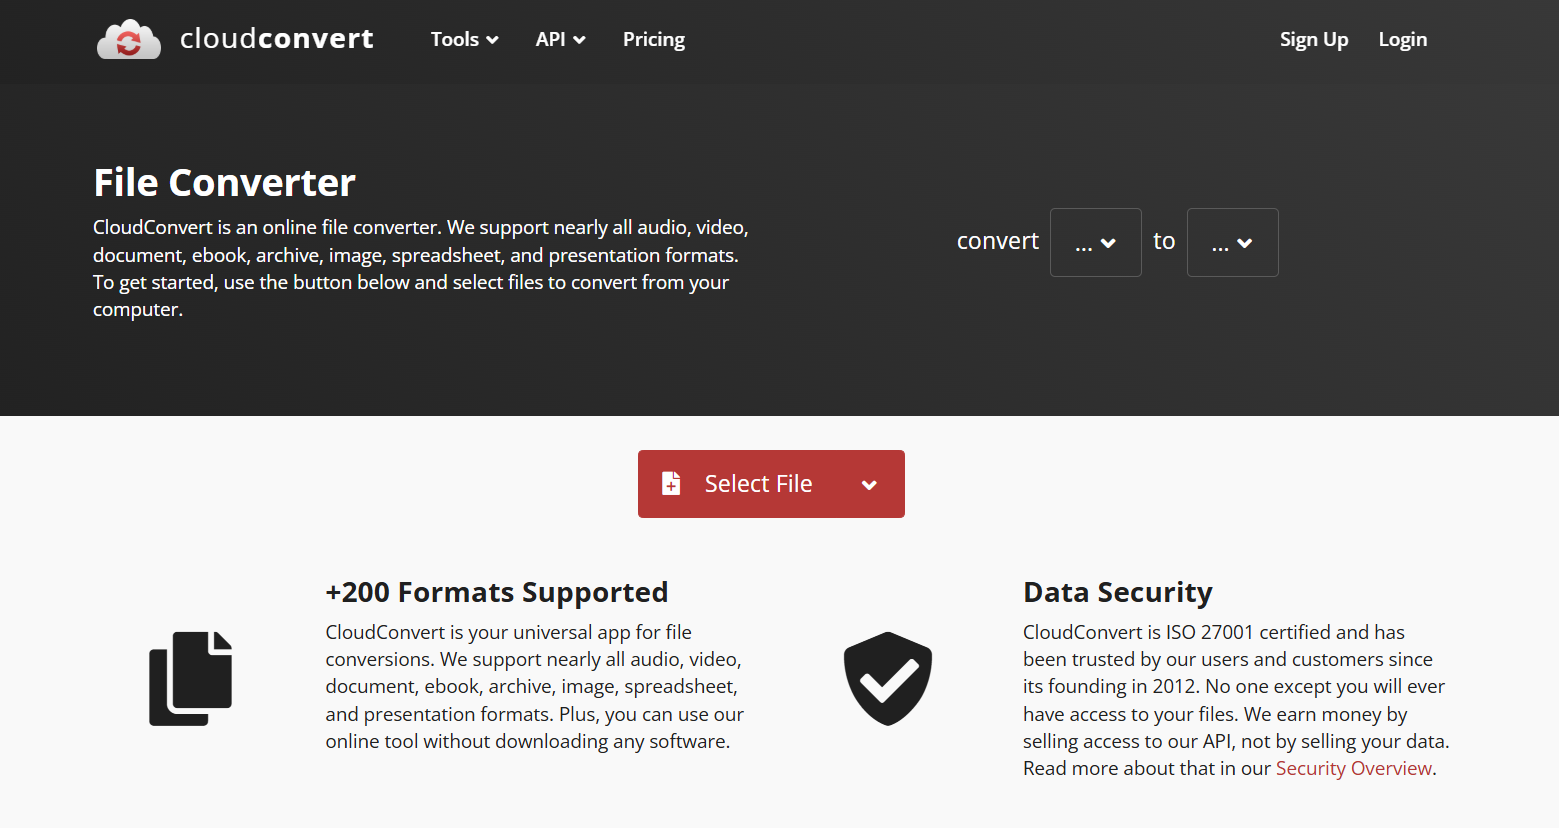
CloudConvert

The fastest and easiest way to extract music from video is by using free online tools. These websites do all the heavy lifting for you — no installation, no setup, just upload and download. Popular options include Online Audio Converter, YTMP3, and AudioExtract.

How it works:

  • Upload your video file (or paste a YouTube link).
  • Select your output format (MP3, WAV, etc.).
  • Hit convert and download your new audio file.

Pros:

  • Super quick and user-friendly.
  • No software installation required.
  • Works on both desktop and mobile browsers.

Cons:

  • Free tools often limit file size.
  • Some sites are cluttered with ads or popups.
  • Not ideal for large or very high-quality video files.

If you’re only looking to save a track here and there, this method is your go-to. For frequent use or higher control, you’ll want to explore other options below.

2. Extract Music from Video with VLC Media Player

VLC Media Player

If you don’t already have VLC Media Player, download it today. It’s hands down one of the most versatile free tools out there. Besides playing any video file you throw at it, VLC doubles as a great solution for extracting music from video.

Step-by-step guide:

  1. Open VLC and load your video file.
  2. Go to Media > Convert/Save.
  3. Add your video file and click Convert.
  4. Choose your desired audio format (MP3, OGG, FLAC).
  5. Hit Start and wait while VLC extracts the audio.

Why VLC is great: It’s completely free, lightweight, and works on both Windows and Mac. Best of all, it preserves audio quality and doesn’t watermark or limit you like some free tools do.

A hidden perk is that VLC lets you trim the video first, so you can extract only the part of the audio you need — like a chorus or speech segment.

3. Use Dedicated Audio Extraction Software

Audacity

If you extract audio often, investing in dedicated software will save you time and give you more features. Tools like Audacity (free), Adobe Audition (pro-level), or Wondershare UniConverter (beginner-friendly) give you flexibility beyond just extracting audio.

What makes them powerful:

  • Trim, clean up, and enhance audio before saving.
  • Batch process multiple videos at once.
  • Support a wide variety of formats and bitrates.
  • Reduce background noise and boost clarity.

The trade-off is learning curve and cost. Free tools like Audacity are amazing but require some patience to learn. Paid software like Audition offers top-notch professional editing but comes with a monthly subscription.

If you’re serious about creating content or need polished audio, this is the best long-term solution.

4. Extract Music from Video on Mobile (iOS & Android)

Not everyone wants to sit at a computer to extract audio. Sometimes you just want to grab a quick sound from a social media video right on your phone. That’s where mobile apps come in handy.

Best apps to try:

  • iOS: Audio Converter, GarageBand.
  • Android: Timbre, MP3 Video Converter.

How it usually works: Import your video into the app, choose “Extract Audio,” and save it. Some apps even let you trim, merge, or convert the file format directly on your phone.

The best part? You can share the audio file instantly through messaging apps or upload it to your music library without needing a laptop.

This method is perfect for TikTok sounds, Instagram reels, or any quick clip you want to save on the go.

5. Extract Music Using Video Editing Software

If you’re already working with video editing software like Adobe Premiere Pro, Final Cut Pro, or iMovie, then extracting audio is a breeze. This method is particularly useful for content creators who edit regularly.

How creators do it:

  • Import your video into the editor.
  • Right-click the video and select “Detach Audio” or “Extract Audio.”
  • Delete the video track if you don’t need it.
  • Export the audio as MP3, WAV, or another preferred format.

What makes this method shine is flexibility. You can remove background noise, cut out unwanted sections, or combine the audio with other tracks. If you’re making YouTube content, podcasts, or even remixing, this workflow is a game-changer.

6. Use Command-Line Tools (Advanced Method)

For tech-savvy users, command-line tools like FFmpeg are unbeatable. FFmpeg is free, open-source, and incredibly powerful — the only catch is learning a few commands.

Example command:

ffmpeg -i inputvideo.mp4 -q:a 0 -map a outputaudio.mp3

This simple line of code tells FFmpeg to grab the audio track from your video and save it as an MP3. You can change formats, bitrates, or even extract specific sections with more advanced commands.

Why advanced users love it:

  • Lightning-fast processing.
  • Supports every format you can imagine.
  • Perfect for automation and batch processing.

Pro tip: Don’t be intimidated by the command line. Once you’ve used it a couple of times, it’s faster than any graphical tool.

Additional Tips for Better Audio Extraction

  • Pick the right format: MP3 is ideal for everyday listening, but WAV or FLAC is better for high-fidelity needs.
  • Mind the bitrate: Choose 320kbps for crisp quality. Lower settings save space but lose clarity.
  • Test before saving: Always play back your file to check for glitches or low volume.
  • Stay legal: Extracting audio for personal use is usually fine, but sharing or distributing copyrighted music can get you in trouble. Always respect copyright.

Conclusion: Choose the Best Way to Extract Music from Video

There you have it — six genius ways to extract music from video instantly. From quick and free online converters to advanced tools like FFmpeg, you’ve got plenty of options at your fingertips.

If you just need something fast, go with an online tool or VLC. If you’re a creator who wants polished sound, editing software or professional programs will give you better results. And if you’re the techy type who loves control, FFmpeg is your ultimate weapon.

The point is: you don’t have to let that amazing soundtrack slip away. Pick the method that fits your needs, save the music, and enjoy it anytime, anywhere.

Find More: Boost Your Sales With SEO Services

FAQs

1. How do I extract music from a video for free?

You can use free online converters, VLC Media Player, or mobile apps like Timbre. These are completely free and beginner-friendly.

2. What’s the best app to extract audio from video?

For mobile, Timbre (Android) and Audio Converter (iOS) are excellent. For desktop, VLC and Audacity are the top free choices.

3. Can I extract music without losing quality?

Yes. Tools like Audacity or FFmpeg let you save in lossless formats like WAV or FLAC, ensuring no compression.

4. Is it legal to extract music from YouTube videos?

It depends on your purpose. For personal use, it’s usually fine. But uploading or distributing copyrighted audio without permission is against the law.

5. Which format is best when saving extracted audio?

MP3 is the most widely supported, but WAV and FLAC give you better quality if you’re picky about sound.

6. Can I extract only part of the audio from a video?

Yes! VLC, Audacity, and most editing software let you trim the audio before exporting.

Tags:
5 Amazing Things Narakeet Can Do That Most Users Don’t Realize

5 Amazing Things Narakeet Can Do That Most Users Don’t Realize

narakeet

Introduction

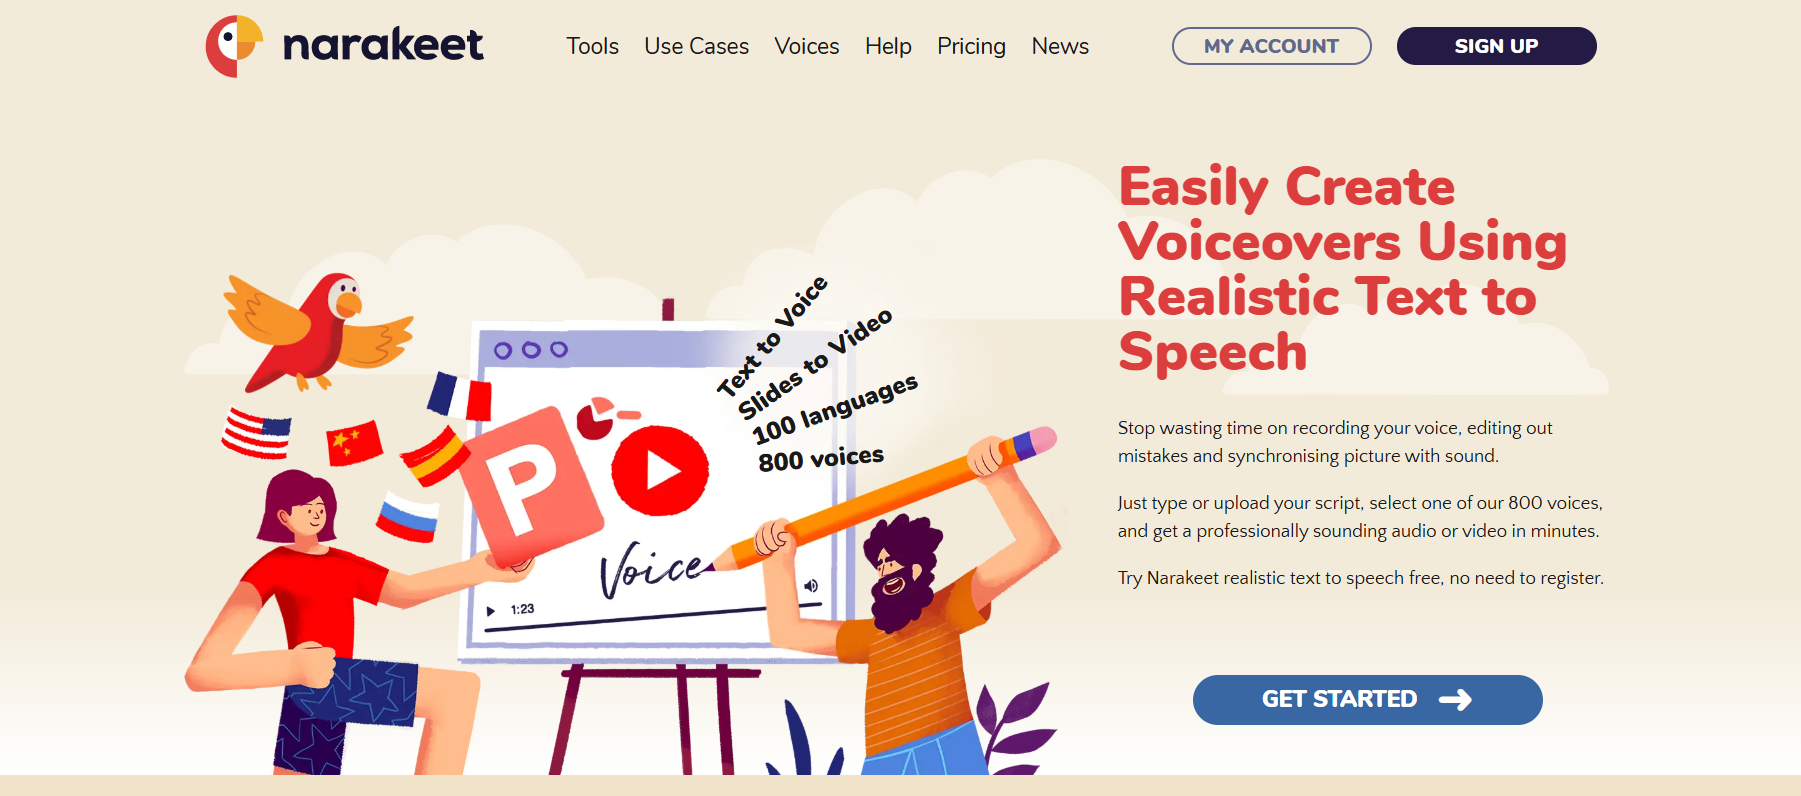
Narakeet is one of those tools you stumble upon and immediately wonder how you didn’t know about it earlier. At first glance, it looks like just another text-to-speech program, but once you dig deeper you realize it’s much more than that. Think of it as having your own AI-powered production studio in your browser. With it, you can create professional voiceovers, narrated videos, and even fully narrated presentations without dealing with microphones, messy audio setups, or expensive freelancers.

If you’ve been researching Narakeet text to speech, or maybe you’ve seen people debating about Narakeet pricing, you probably have questions. Is it really good enough to replace a human narrator? Is it too expensive for small creators? Does it work for serious projects like e-learning or audiobooks? Spoiler alert: it does far more than most people think, and it’s designed to save you time and stress. In this article, I’ll break down five amazing things Narakeet can do that most users don’t realize — along with real-life examples of how you might actually use them.

Find More: 10 Game-Changing Apps for Content Creation You’ll Wish You Knew Sooner

5 Amazing Things Narakeet Can Do That Most Users Don’t Realize

narakeet

1. Turn Scripts into Professional Voiceovers Instantly

Let’s start with the feature most people know about, but don’t fully appreciate: Narakeet AI voice generator. There are plenty of text-to-speech tools online, but here’s the thing — most of them sound either robotic, monotone, or just plain distracting. Narakeet manages to pull off something better. It gives you a wide library of natural-sounding voices in different accents and tones. When you listen, you’ll often have to double-check whether it’s AI or a real person reading.

Think about the last time you tried recording your own audio. Maybe you had to do multiple takes, fight with background noise, or cringe at how your voice sounded in playback. With Narakeet, you paste your script, choose a Narakeet voice that matches your vibe, and within minutes you’ve got a polished voiceover ready to go.

Best use cases:

  • YouTube creators who don’t want to be on camera or record their own voice
  • Small businesses making product demos or explainer ads
  • Educators preparing training materials for online courses
  • Podcasters testing episode ideas quickly before committing to a full production

And the speed is what makes it shine. Instead of waiting days for a freelancer or spending hours editing, you can literally generate a voiceover in the same time it takes to brew a cup of coffee.

2. Convert PowerPoint Presentations into Narrated Videos

PowerPoint Presentation

This one feels almost hidden — but it’s easily one of the most powerful features. Did you know that Narakeet can take your PowerPoint slides and instantly transform them into a narrated video? No screen recording software, no awkward voiceover attempts, and no complicated editing.

Picture this: you’ve put together a slide deck for a client, but instead of emailing static slides, you send them a sleek video that walks through the entire presentation with clear narration. That’s not just convenient — it’s impressive.

Who benefits the most:

  • Teachers creating online lessons without needing to record live lectures
  • Salespeople who want to send polished video pitches instead of just sending PDFs
  • Marketers turning pitch decks into shareable video content on social media
  • Corporate trainers making onboarding presentations more engaging

How it works: You upload your presentation, select a Narakeet voice, and the platform automatically syncs narration with your slides. That means each slide gets read at the right moment, with zero manual editing. Instead of boring silent slides, you now have a professional video asset you can share, repurpose, or even upload to YouTube.

And the best part? You don’t need video editing experience. Narakeet handles all of it in the background, letting you focus on content instead of production.

3. Support for 90+ Languages and Accents

If you’ve ever wanted to make your content global, this feature is a dream. Narakeet isn’t just an English-only tool — it supports more than 90 languages and countless regional accents. That means you can create localized versions of your content with almost no effort.

For example, imagine you’re a course creator. Instead of only serving English-speaking students, you can release versions in Spanish, French, German, Arabic, or even niche regional accents to connect better with specific audiences. Businesses expanding into new countries can make training materials, product demos, or explainer videos without the high cost of hiring multilingual narrators.

Real-world benefits:

  • A software company can launch the same tutorial in ten languages overnight
  • An online educator can reach students across multiple continents
  • Podcasters can expand their audience by offering translated versions of episodes
  • Marketers can create ads that sound native to the region they’re targeting

For anyone who’s thought about “going global” but found the costs and logistics intimidating, this is the shortcut you’ve been waiting for. You don’t need a team of translators and actors — Narakeet gives you the tools right out of the box.

4. Generate Audiobooks, Podcasts, and Training Material Effortlessly

Here’s where Narakeet goes beyond expectations. Most people assume it’s only good for short content like voiceovers or scripts, but in reality, it handles long-form projects like a champ. We’re talking audiobooks, podcasts, employee onboarding modules, or full e-learning courses.

Recording long audio the traditional way is brutal. Your throat gets sore, you trip over words, and editing becomes a never-ending nightmare. Narakeet changes the game by generating hours of audio at once, with consistent tone and no fatigue.

Who benefits the most:

  • Authors who want to release audiobook versions of their books without spending thousands on narration
  • Podcasters who want to test concepts or create episodes faster
  • Trainers and HR teams producing compliance videos and onboarding materials
  • Nonprofits and educators turning guides into accessible audio for learners

It’s also a great way to repurpose content. That blog post you wrote? It could become a podcast episode. That training manual collecting dust? It can be a narrated video module. Narakeet makes scaling content creation not only possible but easy.

5. Customize Voice Speed, Tone, and Style for Unique Results

Finally, let’s talk about customization. This is where Narakeet moves past being “just another AI tool.” You’re not locked into a single robotic-sounding voice. Instead, you can adjust speed, tone, pitch, and emphasis to give your narration personality.

Want a serious corporate training vibe? Keep the tone steady and professional. Need a warm, friendly tutorial voice? Lighten the tone and increase pace slightly. Making a dramatic video intro? Slow the narration and add weight for impact.

Examples of how customization changes the outcome:

  • A high-energy sports promo can be made more exciting by adjusting pitch and speed
  • A meditation app can use slower, calmer tones for relaxation content
  • A professional e-learning course can emphasize clarity and pacing for better comprehension

By tailoring the voice to your project, you strip away the typical “AI voice” feel and get something that genuinely resonates with your audience. That’s a huge edge, especially if you’re competing with others who rely on generic text-to-speech solutions.

Conclusion

Narakeet isn’t just another text-to-speech app you try once and forget. It’s more like a Swiss Army knife for content creators, educators, marketers, and businesses. From instant voiceovers and narrated presentations to multilingual support, audiobooks, and full customization, it covers way more than most users expect. The versatility is what makes it stand out.

If you’ve been on the fence about Narakeet pricing or you’re unsure whether it’s worth committing to, think about what you usually spend on freelancers, studio gear, or editing time. Narakeet compresses all of that into a single, easy-to-use platform. It saves time, money, and stress — and in today’s fast-moving content world, that’s priceless.

So here’s the question: what’s stopping you from giving it a shot? Whether you’re a solo creator, a teacher, a marketer, or a business leader, the possibilities with Narakeet are way bigger than most people realize.

Find More: Boost Your Sales With SEO Services

FAQs

1. What is Narakeet used for?

Narakeet is used to turn text, scripts, and presentations into narrated videos, voiceovers, and audio content using AI-generated voices. It’s especially popular with creators who want to save time while producing professional-quality audio.

2. Is Narakeet free to use?

Narakeet offers free credits to let you test the platform. For serious or ongoing projects, you’ll need to check Narakeet pricing plans, which vary depending on how much content you want to generate.

3. How does Narakeet compare to other text-to-speech tools?

Narakeet usually sounds more natural than most alternatives. Plus, it offers unique features like PowerPoint-to-video conversion and multilingual support, which many competitors don’t handle as well.

4. Can I use Narakeet for YouTube or commercial projects?

Yes! Many YouTubers, marketers, and educators use it for commercial projects. Just make sure you’re on the right subscription level to cover commercial rights.

5. Does Narakeet support different voice styles and emotions?

Yes. You can tweak tone, speed, and emphasis to suit your content, making the narration more dynamic and less robotic.

6. Is Narakeet safe and reliable for professional use?

Absolutely. Thousands of businesses, teachers, and creators rely on it daily. The platform is stable, and the results are professional enough for everything from YouTube videos to corporate training.

Tags:
7 Powerful Streamable Downloaders You Haven’t Tried Yet (But Should!)

7 Powerful Streamable Downloaders You Haven’t Tried Yet (But Should!)

Streamable Downloaders

Introduction: Why You Need a Reliable Streamable Downloader

A streamable downloader is one of those tools you don’t think you’ll need… until you really do. Maybe you stumbled across a hilarious clip you want to save before it disappears, or perhaps you’re prepping for a presentation and want to keep a video offline for peace of mind. Other times, it’s as simple as wanting to enjoy videos without relying on a shaky internet connection. Whatever the reason, having the ability to download content safely and quickly can make life a lot easier.

That’s where a streamable video downloader or streamable link downloader makes all the difference. Instead of worrying about broken links or buffering, you can just grab the video directly from streamable.com downloader tools and store it on your laptop or phone. Once you’ve done it a few times, you’ll wonder how you ever managed without one.

In this article, I’ll show you seven powerful downloaders that are worth trying. Some are quick and easy, others are more advanced for power users. By the end, you’ll know exactly which one fits your needs. Let’s jump in!

Find More: 7 Best Free YouTube Downloaders That Actually Work in 2025

7 Powerful Streamable Downloaders You Haven’t Tried Yet

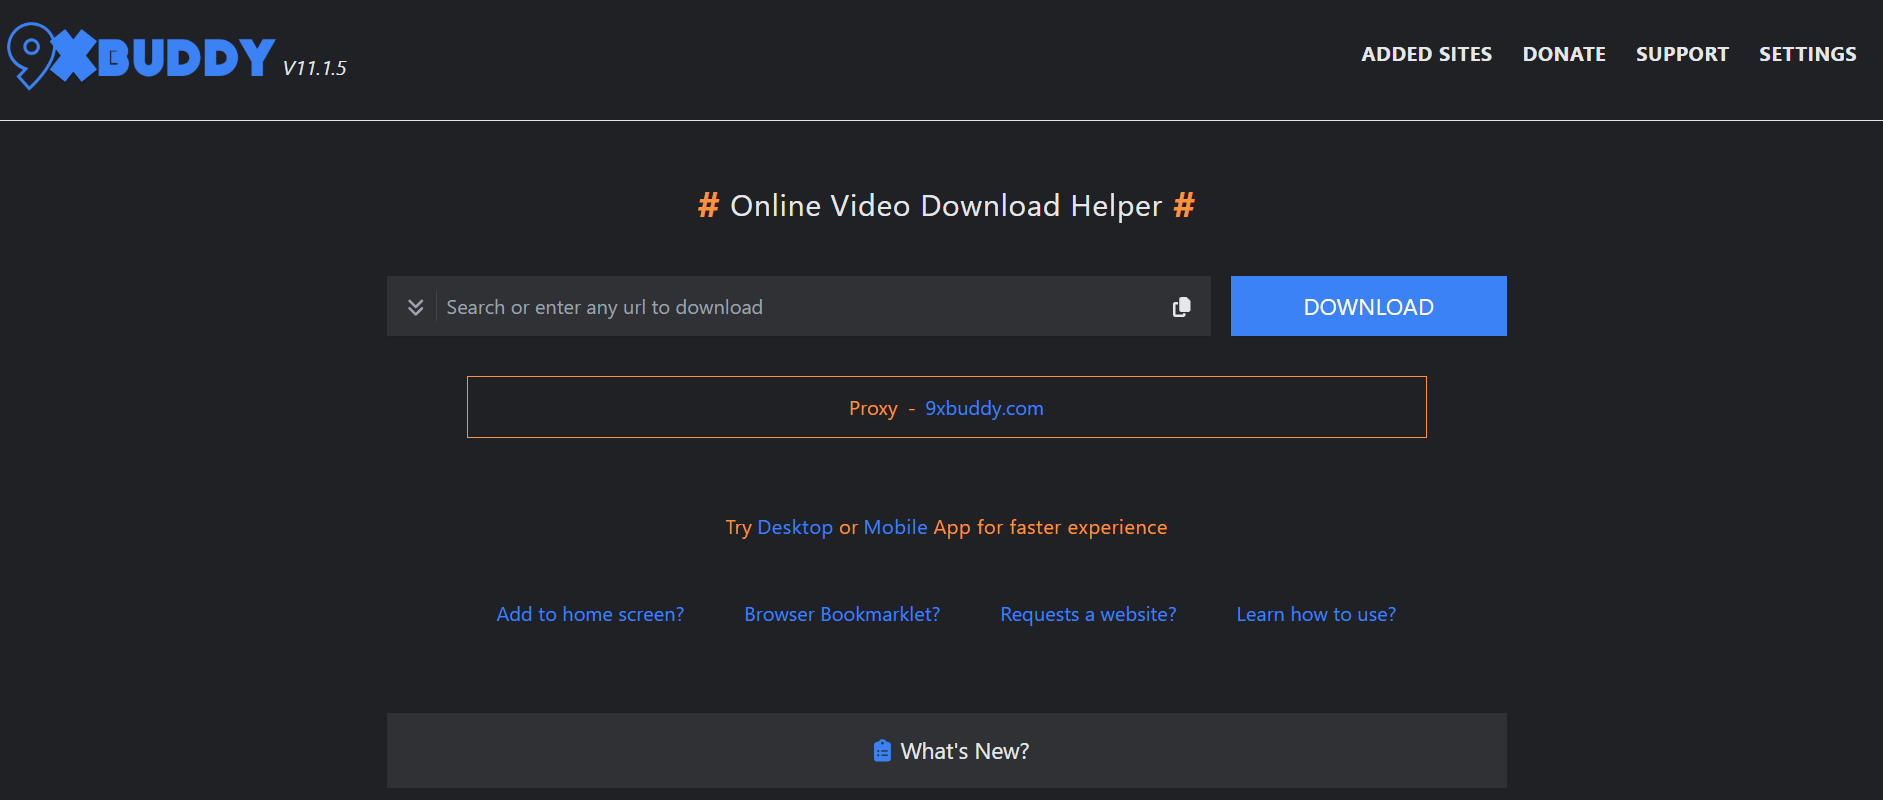
1. 9xbuddy – Simple and Reliable

9xbuddy

9xbuddy is one of the most straightforward online downloaders out there. Just paste your Streamable link, and it instantly generates a download option.

  • Key Features: Fast processing, no sign-up required, works on multiple sites.
  • Pros: Super simple, mobile-friendly, free.
  • Cons: Ads can get a little annoying.
  • Best Use Case: Quick one-off downloads without installing software.

Tip: If you’re on mobile and need a quick solution during a commute or while traveling, 9xbuddy’s clean interface makes it extra convenient.

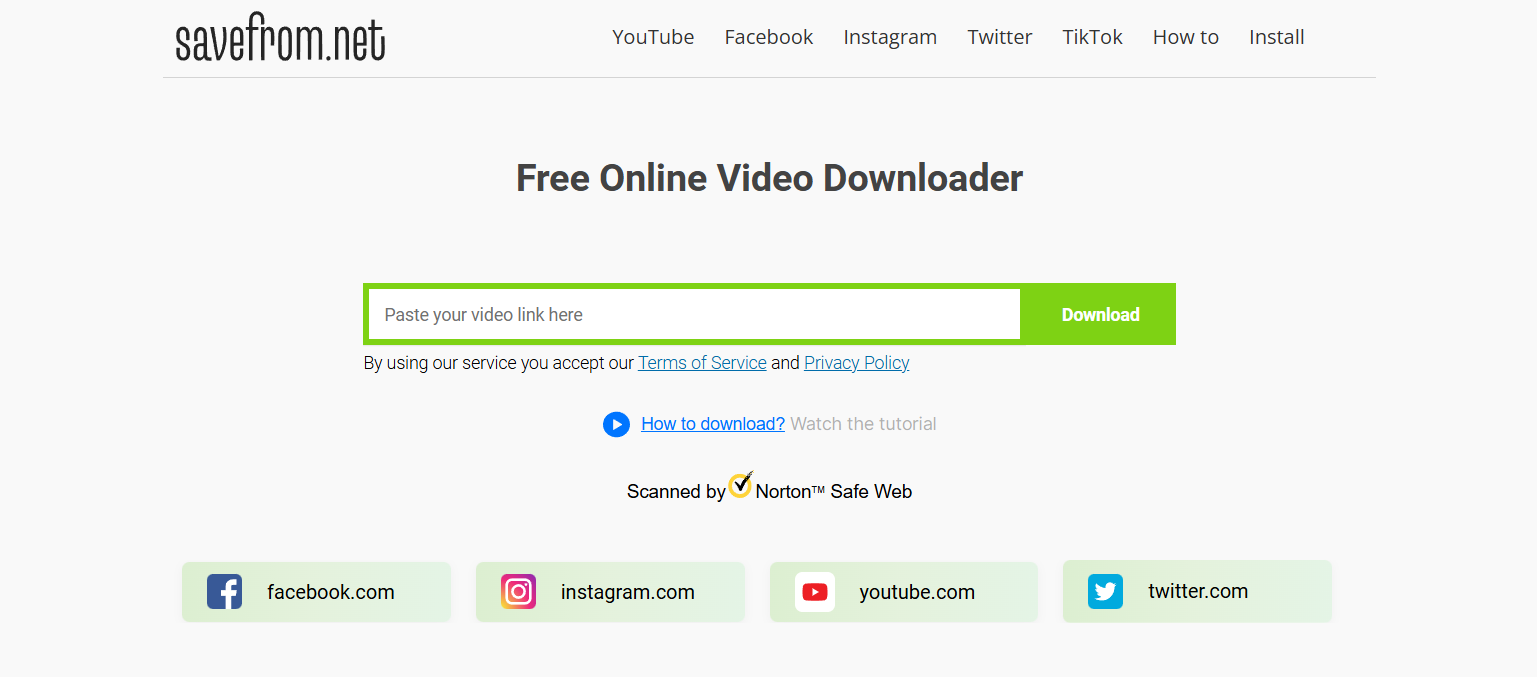
2. SaveFrom.net – The Classic Option

savefrom

SaveFrom.net has been around forever, and for good reason. It’s known for supporting a wide range of sites, including Streamable.

  • Key Features: Browser extensions, fast conversions, HD support.
  • Pros: Easy to use, no complicated steps.
  • Cons: Free version has limitations, works better with extension installed.
  • Best Use Case: Regular downloads when you want a simple workflow.

SaveFrom’s browser extension means you can grab videos without even visiting their site—it integrates directly into your browsing experience.

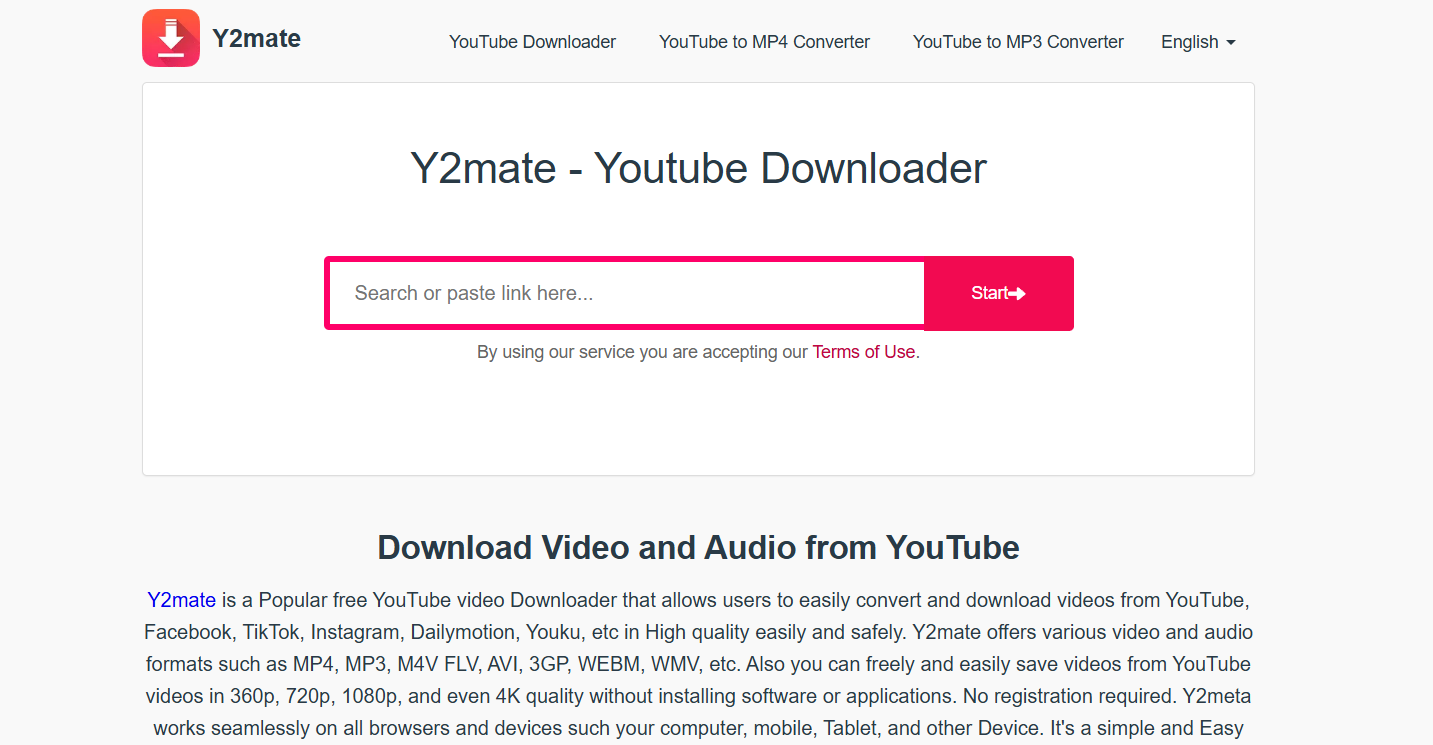
3. Y2Mate – More Than Just YouTube

Y2Mate

You might know Y2Mate for YouTube, but it also works as a streamable link downloader. It’s fast, free, and doesn’t require an account.

  • Key Features: Multi-platform support, MP4/MP3 conversion.
  • Pros: Super versatile, quick, easy to use.
  • Cons: Pop-ups can get irritating.
  • Best Use Case: People who download from multiple video platforms frequently.

Bonus: If you also save videos from other platforms like Facebook or Dailymotion, Y2Mate doubles up as your all-in-one tool.

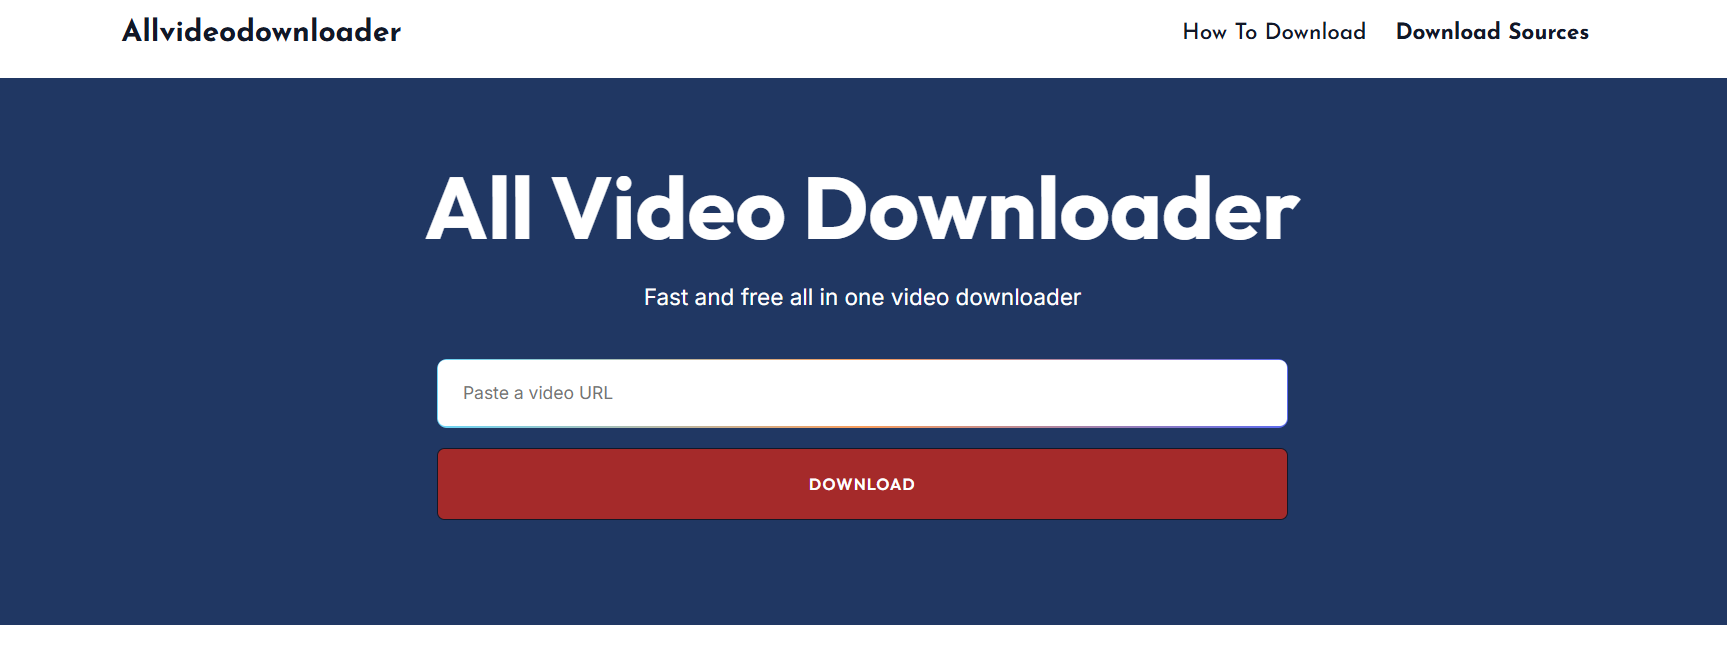
4. AllVideoDownloader – Desktop Powerhouse

AllVideoDownloader

If you’re someone who downloads a lot of videos, a desktop app like AllVideoDownloader might be the way to go. It’s a dedicated program that supports Streamable and dozens of other sites.

  • Key Features: Batch downloads, multiple formats, download scheduling.
  • Pros: Heavy-duty tool, works offline, customizable settings.
  • Cons: Requires installation, not as “instant” as browser tools.
  • Best Use Case: Professionals who need a reliable, advanced downloader.

Think of this as the Swiss army knife of video downloaders. Perfect for teachers, content creators, or anyone who builds presentations often.

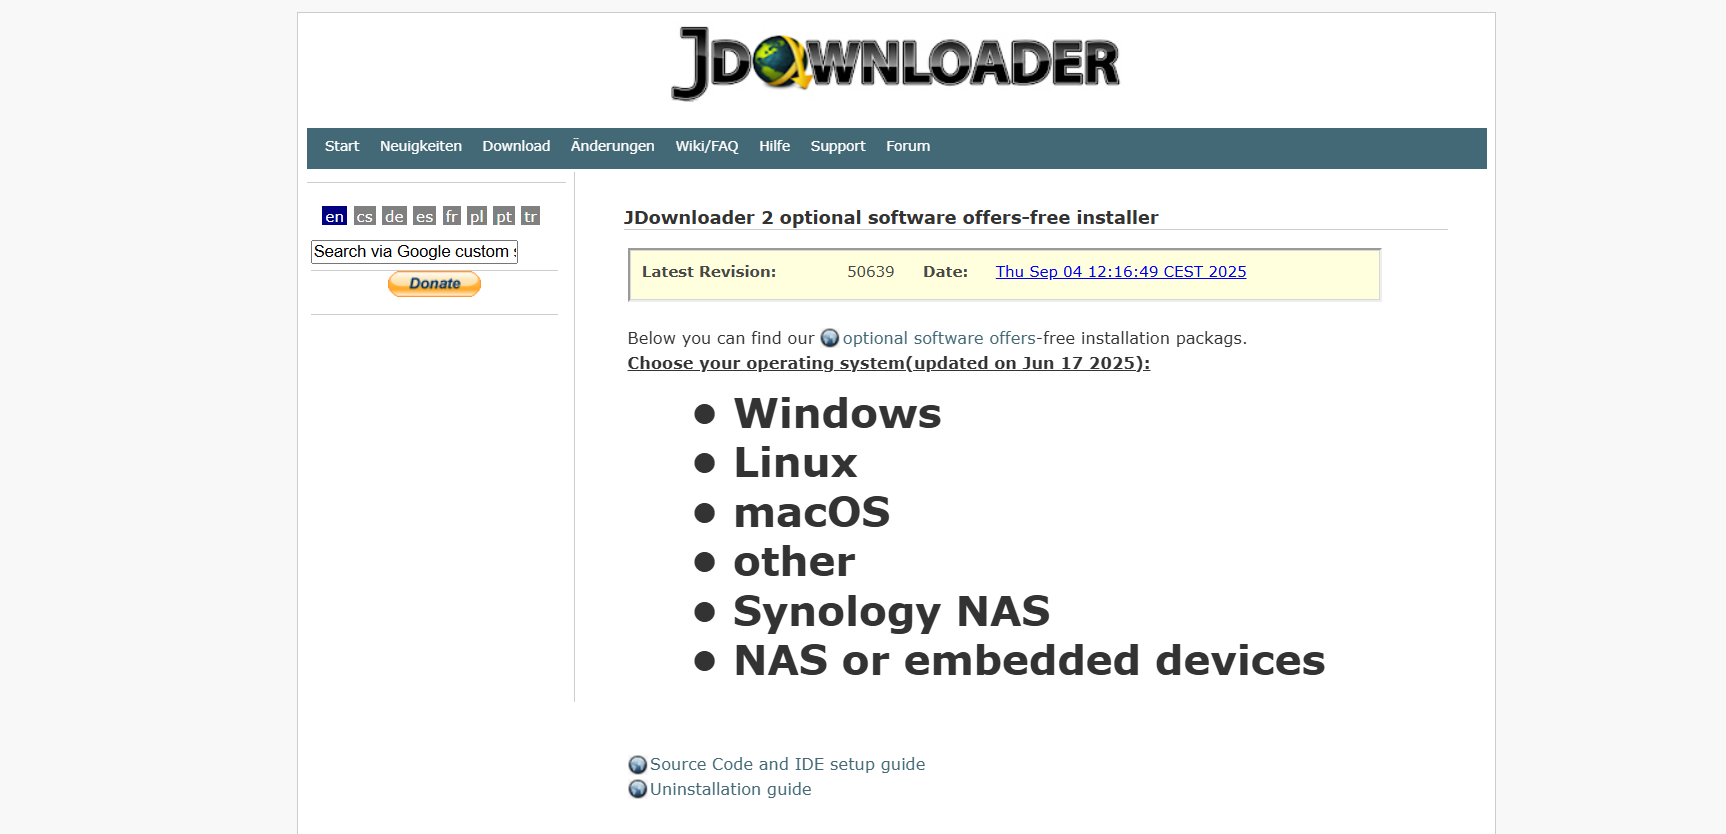
5. JDownloader 2 – The Open-Source Beast

JDownloader 2

JDownloader 2 is open-source software loved by power users. It automatically grabs downloadable links from your clipboard, which makes it super convenient for Streamable videos.

  • Key Features: Clipboard monitoring, batch downloading, resume capability.
  • Pros: Free, powerful, works on Windows, macOS, and Linux.
  • Cons: Might feel overwhelming at first.
  • Best Use Case: Heavy users who want full control over their downloads.

Once you get the hang of it, JDownloader 2 feels like an automation dream. You copy the link, it fetches it instantly—it’s like having a personal assistant for video saving.

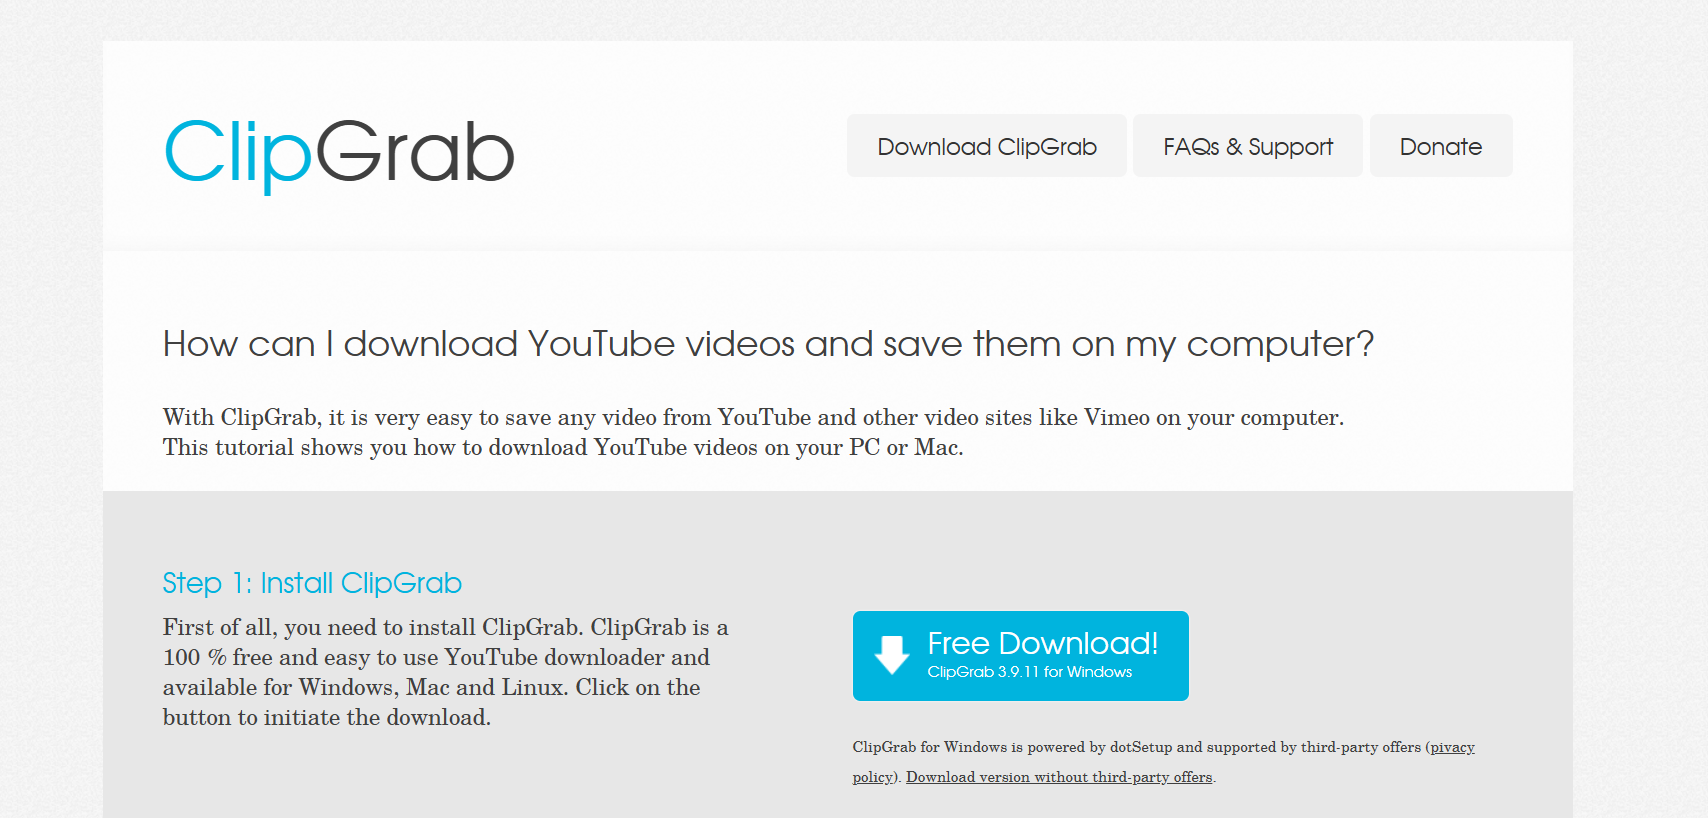
6. ClipGrab – Lightweight and Easy

ClipGrab

If you like clean, lightweight apps, ClipGrab is a great choice. It supports Streamable and other major platforms, and it’s perfect for casual users.

  • Key Features: Simple interface, MP4/MP3 conversions.
  • Pros: Free, quick installation, no bloat.
  • Cons: Not as many advanced settings as others.
  • Best Use Case: Anyone who just wants a no-nonsense downloader.

ClipGrab is especially popular among students who want to save educational clips for offline studying.

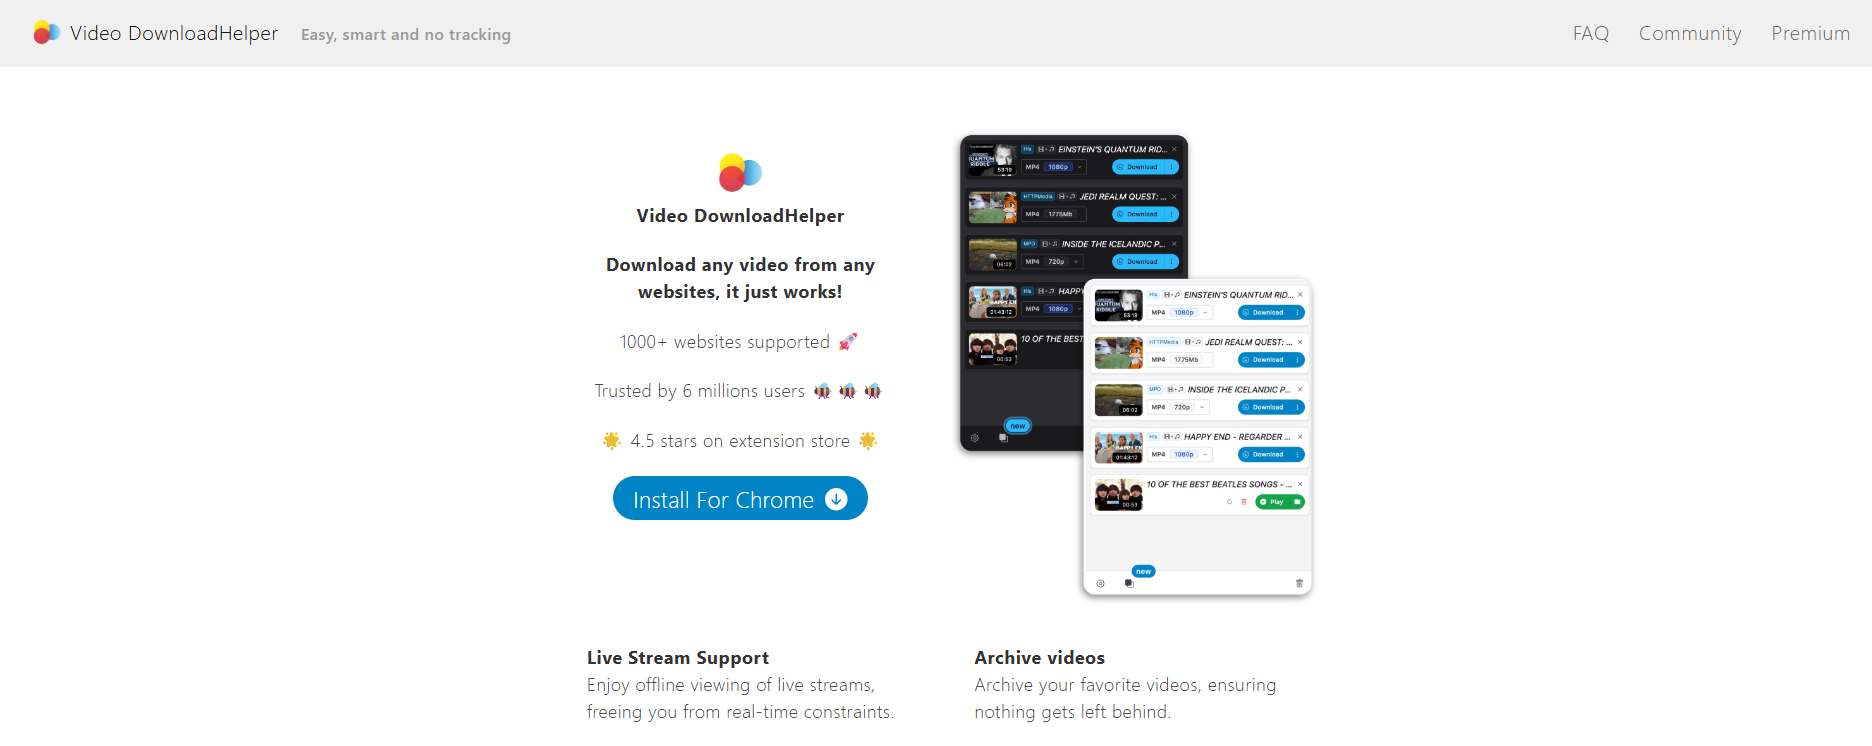
7. Video DownloadHelper (Browser Extension)

Video DownloadHelper

If you prefer something built into your browser, Video DownloadHelper is a fantastic option. It’s available for Chrome and Firefox, and it works seamlessly with Streamable.

  • Key Features: Browser integration, multi-site support, multiple format saving.
  • Pros: Convenient, always ready when you browse.
  • Cons: Requires setup, not as quick for first-timers.
  • Best Use Case: Frequent downloaders who want everything within their browser.

Video DownloadHelper is perfect if you hate copy-pasting links and just want downloads integrated right into your workflow.

How to Choose the Best Streamable Downloader for Your Needs

With so many choices, how do you know which one to go for? Here are a few things to keep in mind:

  • Speed: If you’re just looking to grab a video quickly, go with browser-based tools like 9xbuddy or SaveFrom.net.
  • Quality: For HD or multiple format options, apps like AllVideoDownloader or ClipGrab are better.
  • Security: Stick with trusted tools to avoid sketchy sites.
  • Ease of Use: Beginners will love browser extensions or web-based options.
  • Free vs. Paid: Most Streamable downloaders are free, but paid versions often remove ads or offer premium features.

👉 Pro tip: Always consider the legal side. Downloading for personal offline use is generally okay, but re-uploading or distributing without permission can get you into trouble.

Also, think about your habits. If you’re saving one or two videos per month, an online tool is enough. But if you’re downloading dozens weekly for work or content creation, investing time in setting up JDownloader or AllVideoDownloader pays off massively.

Conclusion: Pick Your Streamable Downloader and Start Saving Videos Today

At the end of the day, the “best” streamable downloader depends on how you plan to use it. If you just need a quick and easy fix, 9xbuddy or SaveFrom.net will do the trick. If you’re looking for something more advanced, JDownloader or AllVideoDownloader will give you more control.

The good news? You don’t have to settle for buffering, vanishing links, or losing access to your favorite clips. Once you’ve got the right tool, you’ll always have your favorite videos safely saved—whether it’s for fun, work, or learning.

So here’s my challenge to you: pick one from this list today, test it out, and see how it changes the way you save and enjoy videos. Once you start, you’ll never want to go back to watching online-only again.

Find More: Boost Your Sales With SEO Services

FAQs

1. Is it legal to use a Streamable downloader?

It depends on how you use it. Saving videos for personal use is usually fine, but re-sharing copyrighted material isn’t.

2. Can I download Streamable videos on mobile devices?

Yes! Tools like 9xbuddy and SaveFrom.net are mobile-friendly, and some apps even have Android versions.

3. Do Streamable downloaders work on all browsers?

Most do, but some (like Video DownloadHelper) work best on Chrome and Firefox.

4. Are there any free Streamable downloaders that actually work?

Absolutely. The ones listed here—like Y2Mate, ClipGrab, and 9xbuddy—are all free and reliable.

5. How can I ensure safe use of a Streamable downloader?

Stick to trusted sites and avoid random pop-ups. If you’re downloading often, consider using open-source software like JDownloader for extra peace of mind.

6. Can I download private or password-protected Streamable videos?

Usually no, unless you have direct access. Most tools only work with public or shareable links.

7. Do these tools keep video quality the same?

Yes, most of them allow you to choose resolution, so if the original is HD, you can keep that quality when downloading.

Tags:
PDF to Excel: The Must-Have Tool for Anyone Who Works with Data

PDF to Excel: The Must-Have Tool for Anyone Who Works with Data

pdf to excel

If you’ve ever had to work with data embedded within PDF, you already know — it seems a daunting task. Whether it’s sales reports, invoices, student gradebooks, or government forms, PDF files are like vaults: good for locking information, terrible for editing it.

And what when the info you need is packed within a table? Even worse.

That’s exactly why PDF to Excel converters have become so crucial. They’re not fancy, they’re not flashy — but they get the pdf to excel conversion jobs done. And if you’re someone who deals with Excel spreadsheets, then being able to move data from a PDF to Excel format isn’t just useful, it’s absolutely essential.

Why Is PDF to Excel Even a Thing?

Do you know:

PDFs are made to look the same everywhere — highly recommended for sharing, horrible for editing.

Excel specifically is made for editing — organizing, sorting, calculating, and automating data.

So when someone sends you a monthly report or receipt in PDF form, and you need to actually do something with the numbers (like sort entries or data analysis), you’re stuck — unless you use a PDF to Excel conversion tool.

In simple terms: PDFs trap the embedded data and Excel sets it free.

Who Needs PDF to Excel Conversion the Most?

While anyone could need a pdf to excel converter at some point, certain folks practically live on it. Let’s take a look:

1. Accountants & Finance Teams

They’re constantly working with statements, transactions, tax documents — most of which are packed within PDF. Transforming them into Excel helps to work with numbers fast and smart. Tools like Suvit go a step further by automating this process, directly syncing such data into Tally and reducing the need for repetitive manual entry.

2. Students & Researchers

Academic papers, government stats, and research PDFs most probably contain tables. Converting them enables deeper analysis and spreadsheet manipulation.

3. Small Business Owners

From inventory lists to sales reports, having everything editable in Excel makes life easier.

4. HR & Admin Staff

Employee records, application forms, time logs — PDFs may be the format of choice for archiving, but Excel is still the king for active data use.

What Makes a PDF to Excel Tool Actually Good?

With so many tools online, not all are equal. Here’s what separates the best from the rest:

✔ Clean Formatting Transfer

A good PDF to Excel converter shouldn’t just dump data randomly into cells. It should keep the table structure, column headers, and align everything properly.

✔ Supports Scanned Documents (OCR)

If the PDF is an image scan, it needs OCR (optical character recognition). Without this, your tool is basically useless for half of real-world PDFs.

✔ No Watermarks or Signup 

Many free converters slap a watermark on the output, or worse — force you to create an account. The best tools skip all that noise.

✔ Handles Large Files Smoothly

Big file? No problem. A reliable tool should convert large PDFs into Excel sheets without crashing or timing out.

✔ Keeps Your Data Safe

If your files contain sensitive info, you need a tool that doesn’t store or misuse your data. File auto-deletion and no tracking = peace of mind.

PDFtoExcel.net (Covers All the Above-Best)

Here’s the good news: PDFtoExcel.net checks all the values mentioned-above.

  • It accurately keeps your table structure intact. 
  • It has solid OCR support for scanned files. 
  • No logins. No watermarks. No catches. 
  • Handles big files with ease. 
  • Your files are auto-deleted after processing — no funny business. 

If you’re tired of overcomplicated conversions or getting burned by clunky converters, try its pdf to xlsx converter that helps to convert pdf to excel accurately.

PDF to Excel Use Cases That Just Make Sense

Let’s take a look at real situations where this tool can be a total lifesaver:

  • A logistics company receives delivery records in PDF. They need to track delays and routes — Excel makes that possible. 
  • A student downloads a 50-page PDF of survey data. Manual entry would take hours. Converting to Excel = 5 minutes and done. 
  • An e-commerce seller receives monthly payout summaries from payment providers in PDF. Upload, convert, filter sales — simple. 

Bottom line? PDF to Excel isn’t just a niche tool — it’s useful in dozens of everyday situations.

What Happens If You Try to Do It Manually?

You could copy and paste. You could retype the data by hand. You could scream into the void.

But here’s what usually happens:

  • Rows break weirdly 
  • Columns merge 
  • Numbers turn into text 
  • Formatting disappears 
  • You waste an hour 

Even if you’re super careful, it’ll take 10x longer than just using a standard pdf to excel converter. And if you’re doing this more than once a week? Then not having a proper PDF to Excel conversion tool is just costing you time and energy for no reason.

Free vs Paid: What’s Worth Paying For?

Honestly, a lot of PDF to Excel tools offer decent free versions. But if you’re handling tons of files, larger documents, or sensitive content, upgrading can be totally worth it.

Here’s what you typically get in a premium version:

  • Batch conversions (multiple PDFs at once) 
  • Larger file limits 
  • Faster processing 
  • Guaranteed better formatting 
  • Priority support 

For individuals, free might be enough. For professionals, it’s worth a few bucks to save hours.

Let’s Conclude:

Yes, having the right PDF to Excel converter in your digital toolkit is just worth it. You don’t need to be a data expert, you just have to navigate with an accurate tool that does not waste your time as well as effort. So, whenever you get stuck with pdf to excel conversion, simply give a try to pdftoexcel’s conversion tool and make files transformation frequently. 

Loom Video Downloader: 9 Secret Tricks to Save Loom Videos

Loom Video Downloader: 9 Secret Tricks to Save Loom Videos

loom video downloader

Introduction: Why You Need a Loom Video Downloader

A Loom video downloader is a lifesaver if you’ve ever wanted to save an important presentation, a quick team update, a sales demo, or even your own recordings for offline use. Loom makes sharing videos incredibly convenient—you just record, share a link, and boom, the other person can watch. But here’s the catch: downloading them isn’t always as simple. Sometimes the download button is hidden, disabled, or simply not there. And if someone sends you just a link without download access, you might feel stuck.

That’s where knowing a few smart tricks (and having the right tools ready) makes all the difference. Whether you’re a student who wants to save lectures for revision, a professional collecting team updates, or just someone who likes to keep their training videos handy, these tricks will save you time and headaches.

In this guide, I’ll share 9 secret tricks to save Loom videos instantly—all 100% free. We’ll go through the built-in download option, browser-based hacks, Loom video downloader Chrome extensions, reliable online tools, and even ways to handle downloads on mobile devices. By the time you’re done reading, you’ll know which method suits you best—and you’ll never lose access to a Loom video again.

Find More: The First Five Hires That Make or Break Your SaaS Startup

9 Secret Tricks to Save Loom Videos Instantly (100% Free)

loom

1. Use Loom’s Built-in Download Option

Let’s begin with the easiest and most official method: downloading directly from Loom itself. If you’re the video’s owner or you have the right permissions, Loom makes it fairly straightforward.

  • Log in to your Loom account.
  • Head to your video library.
  • Locate the video you want to save.
  • Click the three dots (More actions) menu.
  • Select Download and the MP4 file will land on your device.

This gives you the original quality without any fuss. But—and it’s a big but—not every video gives you this choice. If the owner has restricted downloads or you only received a shareable link, the download option may simply not appear.

👉 Best for: Video owners or collaborators with permissions who want the highest quality file with zero hassle.

2. Try a Free Online Loom Video Downloader Tool

Loom Video Downloader

When Loom itself says “no,” you can often turn to an online Loom video downloader free tool. These websites act as middlemen: you paste the Loom video URL, they process it, and hand you a downloadable MP4 file.

Typical steps look like this:

  1. Copy the Loom video link.
  2. Paste it into the downloader’s search box.
  3. Choose the quality (if available) and click download.

Pros: No installation needed, works from any device, usually very quick.
Cons: Can be cluttered with ads, sometimes unreliable, and quality may vary.

👉 Best for: People who want to save a Loom video once or twice without installing anything extra.

3. Save Loom Videos with Browser Extensions

If you download Loom videos frequently, a Loom video downloader Chrome extension might be your new best friend. Once installed, these extensions add a small icon to your browser toolbar. Anytime you open a Loom video, you just click the extension and it grabs the file.

  • Search for a Loom video downloader extension in the Chrome Web Store (or Firefox Add-ons if you use that).
  • Install it.
  • Open your Loom video.
  • Hit the extension button to download instantly.

Pros: Super convenient, one-click solution, perfect for heavy users.
Cons: Some extensions can be shady, so always check reviews and permissions before installing.

👉 Best for: Professionals and students who save multiple Loom videos each week.

4. Copy the Video Source URL from Developer Tools

This method feels a little geeky but it’s surprisingly effective. Every video streamed in your browser comes from a file hosted on Loom’s servers. With Developer Tools (built into every browser), you can hunt that file down.

  • Right-click on the Loom video and click Inspect.
  • Open the Network tab.
  • Refresh the page and filter for files ending in .mp4.
  • Copy that file’s URL, open it in a new tab, and download.

Pros: No external tools or downloads required.
Cons: Takes a bit of patience, especially if you’re new to developer tools.

👉 Best for: Tech-savvy users who don’t mind clicking around a little to avoid third-party tools.

5. Record Loom Videos with Screen Recording Software

When all else fails, you can go old-school: just record your screen while the video plays. Tools like OBS Studio, VLC, or even built-in recorders like Windows Game Bar and Mac’s QuickTime make this simple.

  • Start your screen recorder.
  • Play the Loom video in full-screen.
  • Save the recording when done.

Pros: Works even if every other option fails.
Cons: Takes as long as the video’s runtime, and you may need to trim afterwards.

👉 Best for: Capturing restricted Loom videos where no direct download is possible.

6. Download Loom Videos on Mobile (iOS & Android Tricks)

Loom videos don’t just live on desktops—many people watch them on their phones. Luckily, saving them on mobile is possible too.

  • Use your phone browser and an online Loom video downloader website.
  • Or, use your phone’s built-in screen recording feature (both iOS and Android have them now).

Pros: Perfect for people who need offline access while traveling.
Cons: Screen recording may include notifications unless you enable Do Not Disturb.

👉 Best for: Mobile-first users who want videos for offline learning, commuting, or sharing.

7. Use Third-Party Video Download Software

4K Video Downloader

Dedicated software like 4K Video Downloader, YTD Downloader, or JDownloader provides a more powerful option. These programs allow bulk downloads, higher stability, and sometimes advanced features like extracting audio only.

  • Install the software.
  • Paste in the Loom URL.
  • Choose quality and save.

Pros: More reliable, faster, supports multiple sites and formats.
Cons: Requires installation and may have premium versions for full features.

👉 Best for: Users who handle dozens of video downloads regularly.

8. Save Loom Videos from Shared Links

Often, you don’t own the video—you just get a shareable Loom link. In that case, direct downloading is blocked. But some Loom video downloader online tools accept these links. You paste it in, and they spit out an MP4 file.

You can also mix this trick with the Developer Tools method to capture the video file behind the link.

Pros: Lets you save videos you didn’t create.
Cons: May not work on private or password-protected Loom videos.

👉 Best for: Team members, classmates, or anyone who only gets a viewing link without download access.

9. Convert Loom Videos to MP4 Format for Offline Use

Sometimes the file you get isn’t the most versatile format. That’s why video converters are so handy. Tools like HandBrake or online converters let you turn Loom recordings into MP4, which plays nicely on nearly every device.

  • Upload the video file.
  • Select MP4 as the format.
  • Download and enjoy universal compatibility.

Pros: MP4 works everywhere, from phones to TVs.
Cons: Adds an extra step after download.

👉 Best for: Users who want their videos playable on any device without worrying about compatibility.

Conclusion: Choose the Right Loom Video Downloader for You

There you go—9 secret tricks to save Loom videos instantly and for free. Whether you rely on an official download, a Loom video downloader extension, an online tool, or even screen recording, there’s always a solution.

If you save videos occasionally, an online downloader or inspect element trick is more than enough. If you download regularly, I’d recommend going with a Chrome extension or desktop software for speed and reliability. And for those who are often on the go, mobile methods like online downloaders and screen recording will keep you covered.

The important thing is you now have options. No more worrying about losing access to a valuable training video, presentation, or memory. Try out the method that feels easiest, see what works best for your needs, and start building your own offline library of Loom videos today!

Find More: Boost Your Sales With SEO Services

FAQs

1. Can I download Loom videos without permission?

Technically yes, but you should always respect ownership and privacy. If the video isn’t yours, it’s best to ask before downloading.

2. Are free Loom video downloaders safe to use?

Some are safe, others not so much. Stick to tools with strong reviews, avoid sketchy sites full of pop-ups, and never download unknown software.

3. What’s the best way to download Loom videos in high quality?

If you’re the owner, Loom’s built-in download is the best. Otherwise, third-party desktop software usually preserves quality better than online tools.

4. Can I download Loom videos on my phone?

Yes! You can either use a Loom video downloader online through your mobile browser or use your phone’s built-in recorder.

5. Is it legal to use a Loom video downloader?

Downloading your own videos is totally fine. Downloading someone else’s without permission is a gray area and may violate terms of service, so use responsibly.

Tags: