The Exact Daily Venmo Limit in 2026: 6 Powerful Details Explained

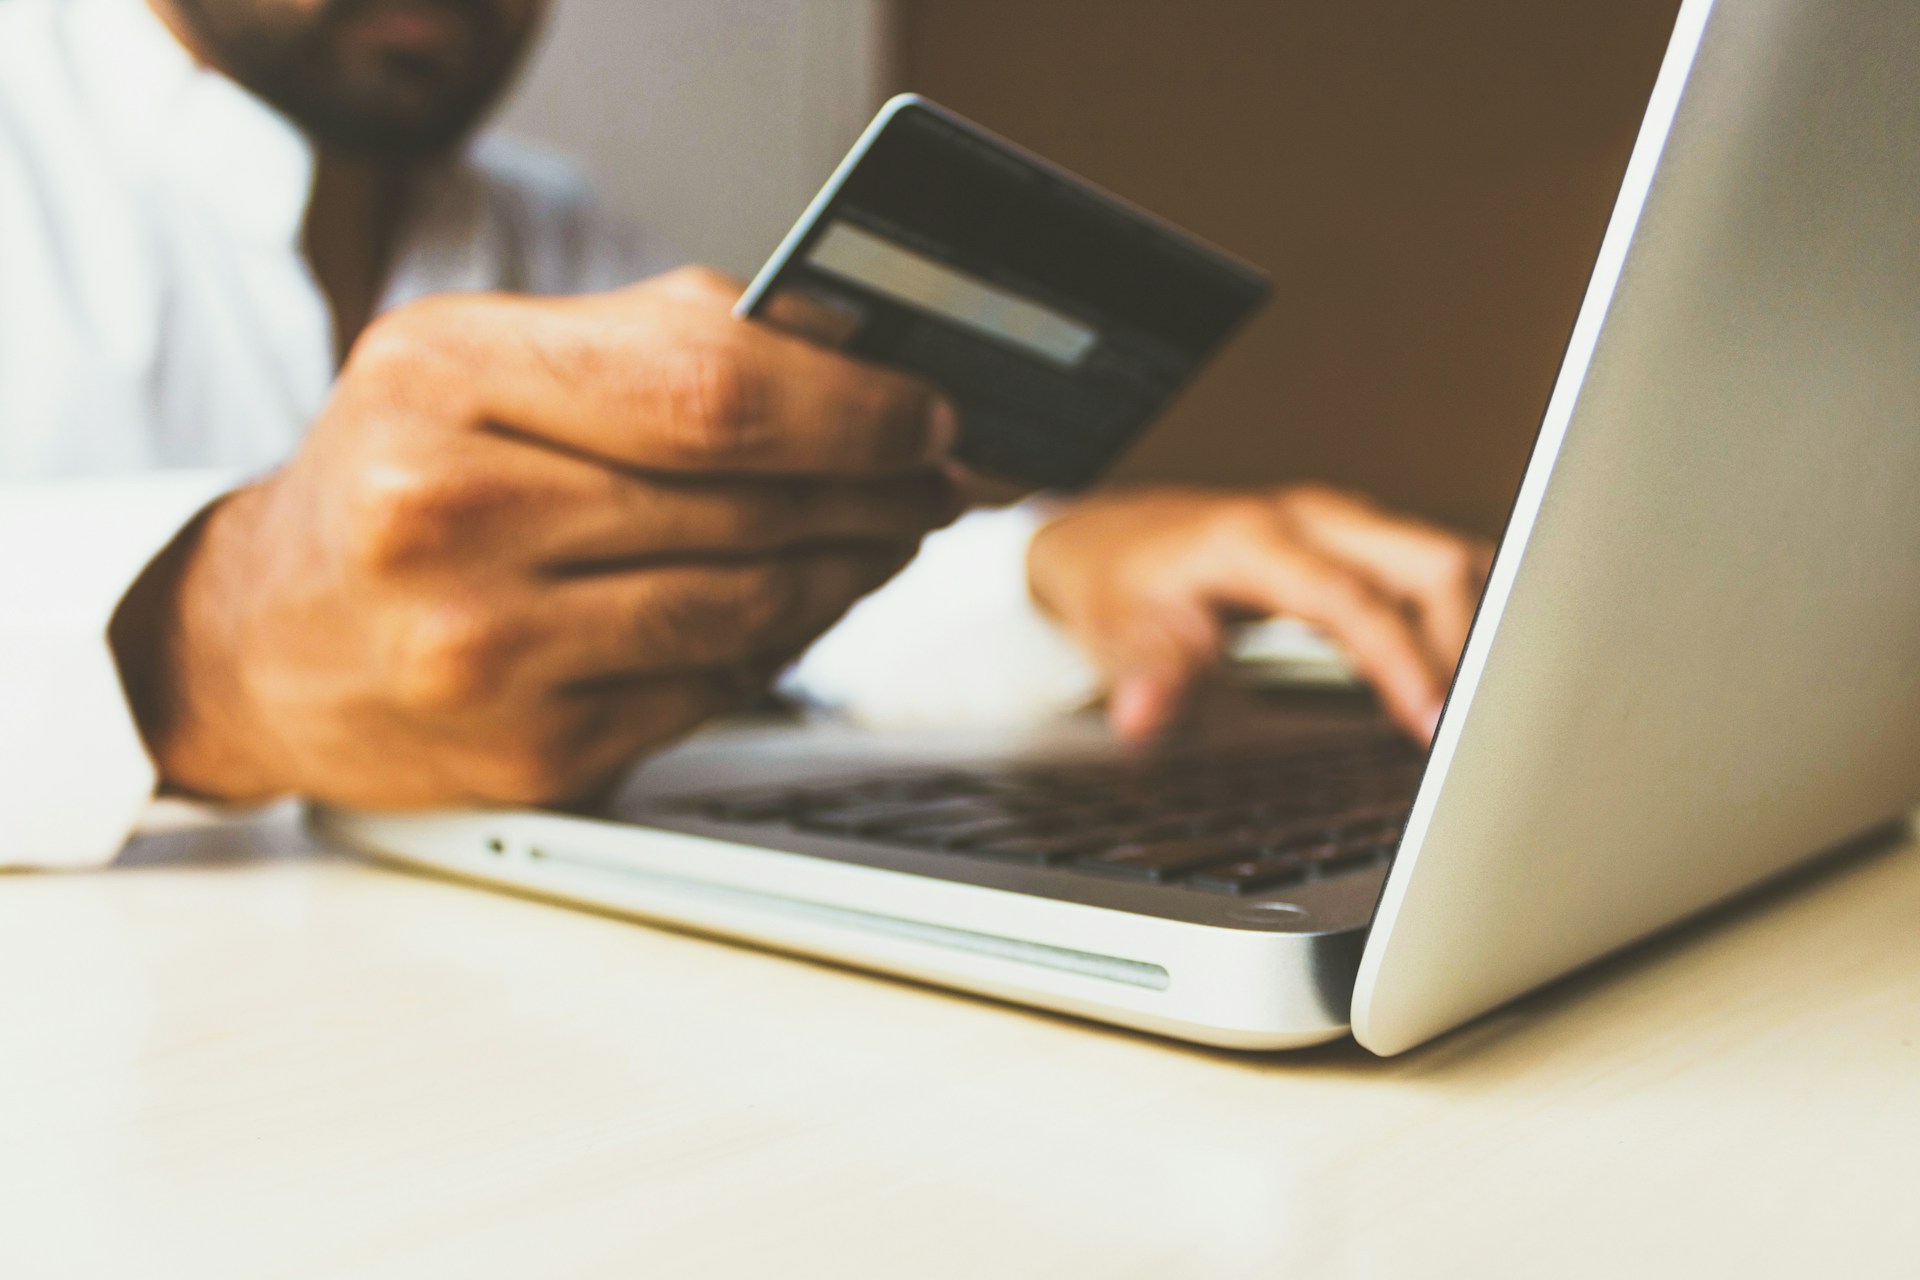
Daily Venmo limit is one of those things most people don’t think about… until Venmo suddenly stops a payment right when you need it most. One minute you’re confidently sending money, the next you’re staring at an error message and wondering what just happened. Maybe you’re trying to pay rent, split a big dinner bill, send money to family, or cover an emergency expense. Suddenly, the question pops up: does Venmo have a daily limit? The short answer is yes — and in 2026, understanding that limit is more important than ever. In this guide, I’ll walk you through everything in simple, human language. No legal jargon, no confusing terms. By the end, you’ll know exactly how the daily Venmo limit works, how much you can realistically send or receive, why Venmo blocks some payments, and how to avoid running into these limits again.
Find More: 7 Powerful Things You Didn’t Know AI Bola Can Do for Dental Practices
What Is the Daily Venmo Limit?
Definition of the Daily Venmo Limit
The daily Venmo limit is the maximum amount of money you’re allowed to send within a 24-hour period. In some cases, it can also affect transfers or trigger reviews on incoming money. Think of it as a spending ceiling that resets after a certain amount of time. Once you hit your daily limit for Venmo, the app won’t let you send any more money until that limit resets, no matter how urgent the payment feels.
Why Venmo Sets Daily Transfer Limits
Venmo isn’t setting limits just to be difficult. These limits exist to protect the platform and the people using it. They help reduce fraud, stop stolen accounts from being drained in minutes, and ensure Venmo complies with U.S. financial regulations. Without a venmo daily limit, scammers would have free rein, and everyday users would be exposed to much higher risk.
How the Daily Venmo Limit Protects Users
From the user’s perspective, the daily venmo limit can actually save you. If someone gains access to your account, the most they can take in one day is capped. Limits also help Venmo spot unusual activity faster. A sudden spike in payments can trigger security checks that stop fraud before it becomes a serious problem.
The Exact Daily Venmo Limit in 2026
Daily Venmo Sending Limit Explained
In 2026, Venmo doesn’t apply one flat daily number to everyone. Your daily Venmo limit depends heavily on your account status and history. Unverified users face much tighter limits, while verified users enjoy significantly more freedom. This is why two people can use Venmo the same way and have completely different experiences when sending money.
Daily Venmo Receiving Limit Explained
Receiving money is generally less restricted than sending it, which is why many people assume there’s no limit at all. In reality, very large or frequent incoming payments can still trigger reviews. While there isn’t a strict daily venmo limit for receiving money like there is for sending, Venmo still monitors activity to prevent abuse or money laundering.
Weekly vs Daily Venmo Limits (Key Differences)
This is one of the most confusing parts for users. Venmo often talks about weekly limits, but those weekly caps directly affect your daily venmo limit. If you use most of your weekly allowance in one day, you may find yourself unable to send anything for the rest of the week. In practice, the weekly limit often matters more than the daily one.
Daily Venmo Limit for Verified vs Unverified Accounts
Daily Venmo Limit for Unverified Users
If your account isn’t verified, the daily limit for Venmo is extremely restrictive. Most unverified users are capped at a relatively low weekly amount, which makes large daily payments nearly impossible. This is Venmo’s way of limiting risk and encouraging users to verify their identity.
How Identity Verification Changes Your Daily Venmo Limit
Once you verify your identity by providing your legal name, date of birth, and Social Security number, your venmo daily transfer limit increases dramatically. Verification builds trust. It tells Venmo you’re a real person using the app for legitimate reasons, not a temporary or suspicious account.
Maximum Daily Venmo Limit After Verification
Verified users can typically send several thousand dollars per week, which gives much more flexibility on a daily basis. While Venmo doesn’t always publish a strict daily venmo limit number, verified accounts can usually handle large payments without constant interruptions or blocks.
What Counts Toward Your Daily Venmo Limit?
Person-to-Person Payments

Every payment you send to another Venmo user counts toward your daily Venmo limit. It doesn’t matter if it’s rent, groceries, utilities, or paying a friend back. Small payments add up quickly, especially if you send money multiple times in one day.
Bank Transfers and Card Payments
Payments funded by a bank account, debit card, or credit card all count toward your daily limit for Venmo. Changing your funding source doesn’t bypass the system. Venmo looks at the total amount sent, not where the money came from.
Business and Merchant Transactions
Paying a business profile or merchant through Venmo can count differently behind the scenes, but it still contributes to your overall activity. Large or frequent business payments can increase the chances of reviews or temporary restrictions.
How to Increase Your Daily Venmo Limit
Step-by-Step Guide to Verifying Your Venmo Account
The fastest way to raise your venmo daily limit is to verify your account. Go to your settings, follow the identity verification steps, and make sure every detail is accurate. Even small mismatches can slow the process or reduce your limits.
Linking Bank Accounts and Cards
Linking and confirming a bank account improves your standing with Venmo. While it doesn’t directly raise the daily limit for Venmo on its own, it helps build trust and reduces the chance of failed or flagged transactions.
Common Mistakes That Prevent Limit Increases
Using nicknames instead of legal names, entering incorrect personal details, or having repeated failed payments can hold your account back. Consistency, accuracy, and normal usage patterns go a long way toward higher limits.
Daily Venmo Limit Errors and What to Do
Why You’re Seeing a Daily Limit Reached Message
Seeing a daily limit reached message usually means you’ve hit your venmo daily limit or exhausted your weekly allowance. In some cases, it can also appear if Venmo detects behavior that looks unusual or risky.
How Long Until Your Daily Venmo Limit Resets
Most people assume limits reset at midnight, but that’s not how Venmo works. The daily venmo limit usually resets on a rolling 24-hour basis. That means the timer starts from your last transaction, not the start of a new day.
What to Do If a Payment Is Blocked
If a payment is blocked, your options are limited but manageable. You can wait for the reset, split the payment across multiple days, or use another service like PayPal or Zelle if the payment is urgent.
Daily Venmo Limit vs PayPal, Zelle, and Cash App
Daily Venmo Limit Compared to PayPal
PayPal typically allows higher transfer limits, especially for verified users, but it often comes with stricter reviews and holds. Venmo is more casual and social, but that convenience comes with tighter day-to-day limits.
Venmo vs Zelle Daily Transfer Limits
Zelle works directly with banks, which often means higher transfer limits. However, Zelle limits depend heavily on your bank’s policies, not just the app itself.
Venmo vs Cash App Daily Limits
Cash App can offer aggressive limits for verified users, especially for peer-to-peer payments. Still, Venmo remains a favorite for social payments and splitting expenses among friends.
Final Thoughts: How to Manage and Maximize Your Daily Venmo Limit in 2026
Understanding your daily Venmo limit saves you stress, time, and awkward moments when payments fail at the worst possible time. Verify your account, keep your information accurate, plan large payments ahead, and don’t assume Venmo is unlimited — because it isn’t. Once you understand how the venmo daily limit really works, you can use the app confidently without surprises, delays, or last-minute payment issues.
Find More: Boost Your Sales With SEO Services
FAQs
1. What Is the Maximum Daily Venmo Limit in 2026?
For verified users, the daily venmo limit is flexible but controlled by the weekly cap. In practice, this allows for large payments as long as you stay within your total allowance.
2. Can You Send More Than the Daily Venmo Limit?
No. Once you hit the daily limit for Venmo, you’ll need to wait for it to reset or use another payment method.
3. Does the Daily Venmo Limit Reset at Midnight?
No. The venmo daily limit resets on a rolling 24-hour basis, not at midnight.
4. Is the Daily Venmo Limit Different for Business Accounts?
Yes. Business profiles follow different rules, limits, and fee structures compared to personal accounts.
5. Does Receiving Money Affect Your Daily Venmo Limit?
Receiving money usually doesn’t count toward your daily limit, but unusually large or frequent deposits can still trigger reviews.